Commands
Commands are a pro-code language that enable a Palantir application to declare client-side operations executable by the application itself, other Palantir applications, workspace components, or AIP Agents. Developed from the principle that builders should be able to configure commands for use across Palantir applications which safely automate manual application tasks and actions, commands provide both users and LLMs with a shared language for client-side interactions.
By adding one or multiple commands to a Workshop module, you can configure and execute operations in other Palantir platform applications you embed as a widget. Additionally, you can use commands:
- As tools in AIP Agent Studio to create AIP Agents that read from and write to any application that interoperates with commands.
- Inline as part of a Notepad document.
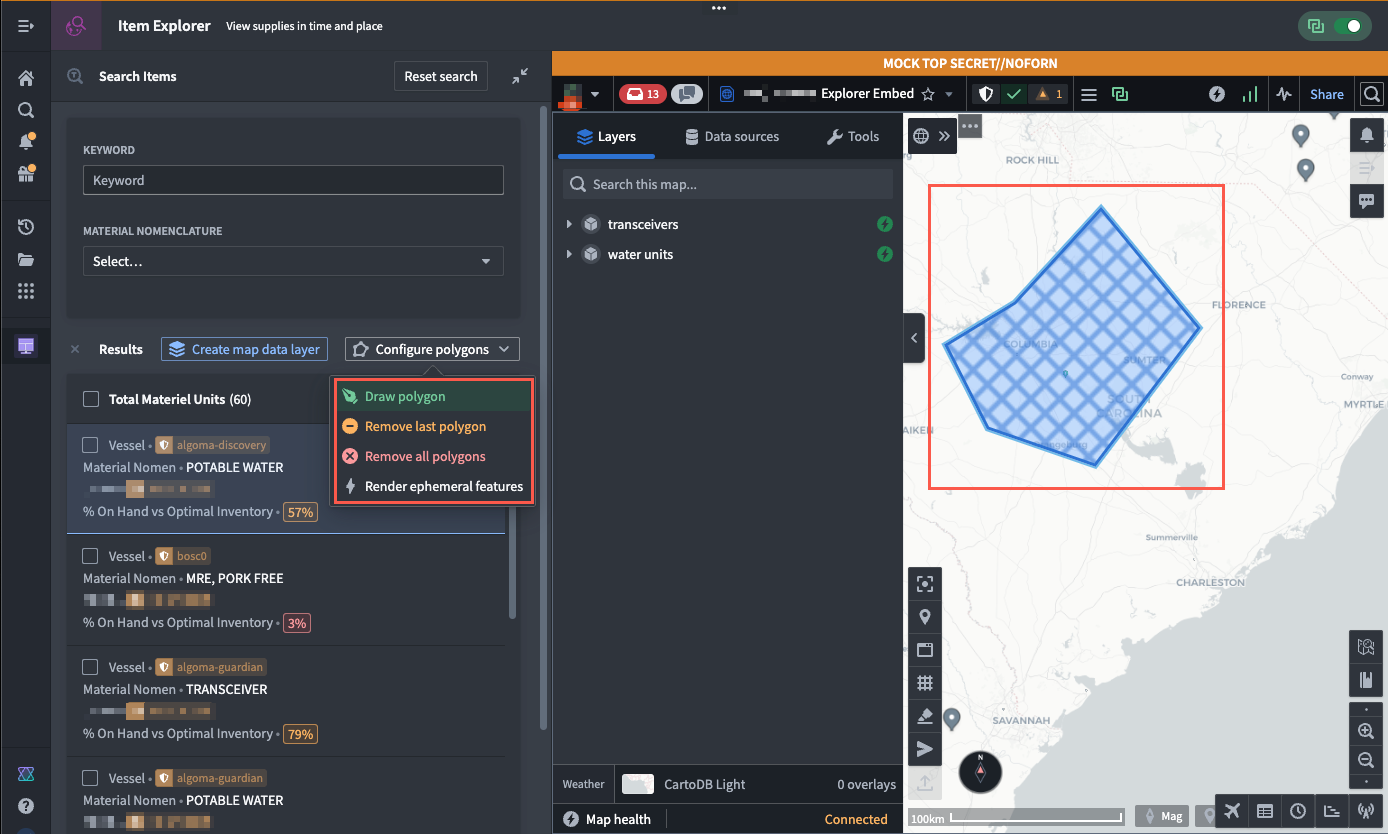
You can trigger commands in Workshop through two existing widgets:
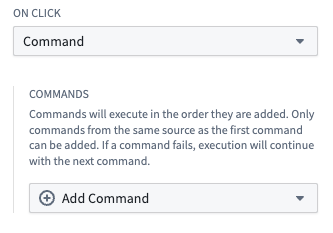
- Button Group, by configuring a button that triggers a command On click.
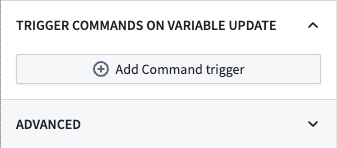
- App Pairing, by adding a command trigger based on a variable updating in your application.
Follow the instructions below to configure a command using either the Button Group or App Pairing widgets.
Use the Button Group widget to configure a command
Navigate to your Workshop module and add the Button Group widget to launch the Widget setup panel on the right side of your screen. Follow the instructions below to configure buttons that trigger a command:
- Select Button 1 from the Button configuration section of the Widget setup panel.
- Enter a display name for your button in the Text input box.
- Optionally configure your button's Color, Left icon, and Right icon.
If a command has an associated icon, then Workshop automatically populates the Color and icon options with that association by default.
- Write a description that will render as a tooltip when a user hovers over your button in Workshop.
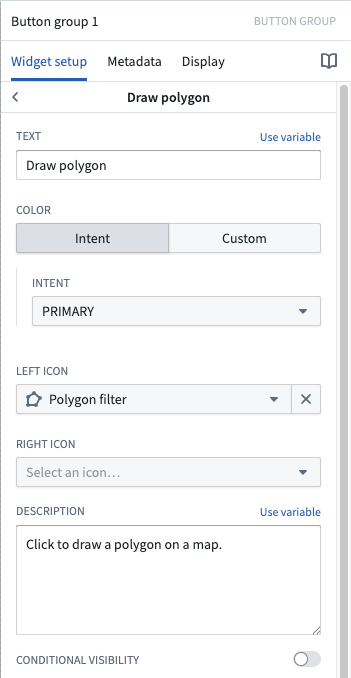
You can toggle on Conditional visibility and configure a Boolean variable which, when satisfied, will disable the command or hide it from a user's view.
- Choose command within the On click dropdown menu.
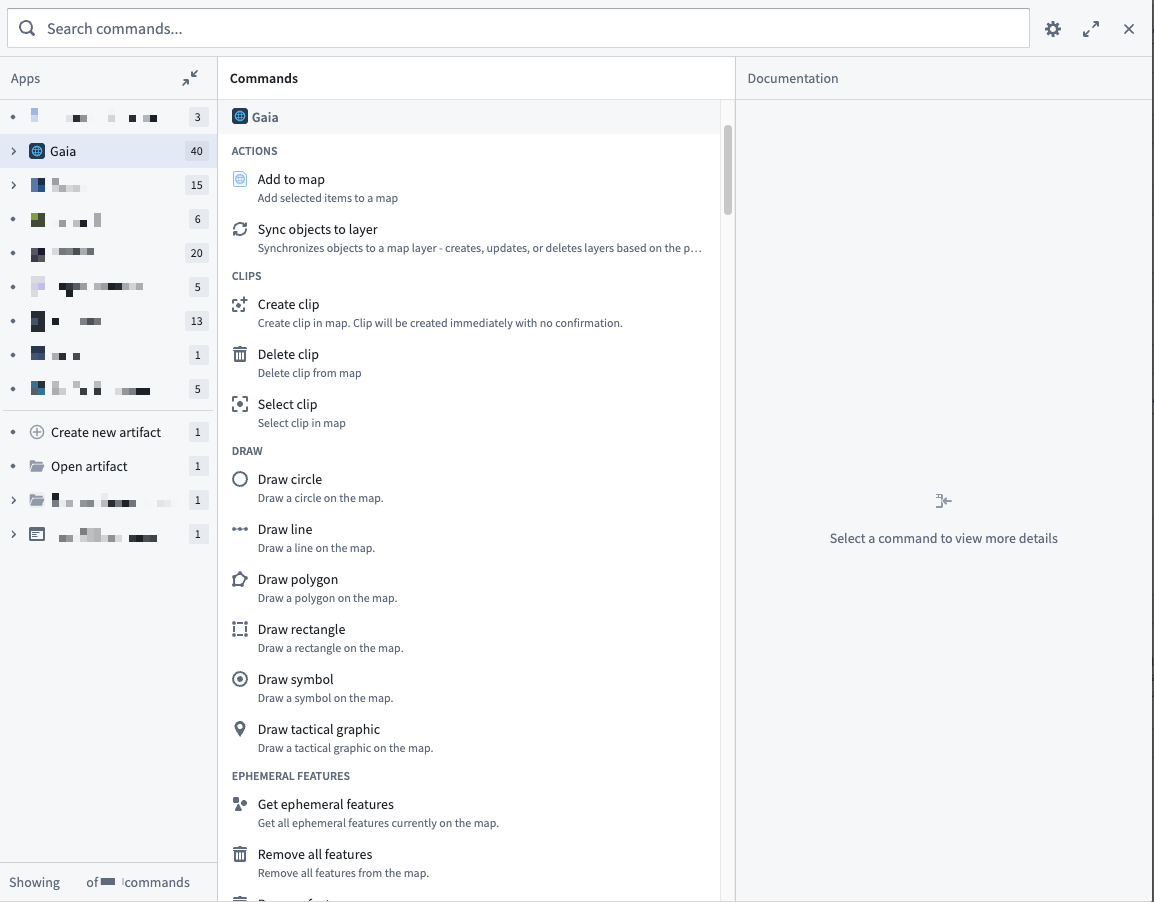
- Select Add command > Browse all commands... to launch the Select a command... pop-up window.
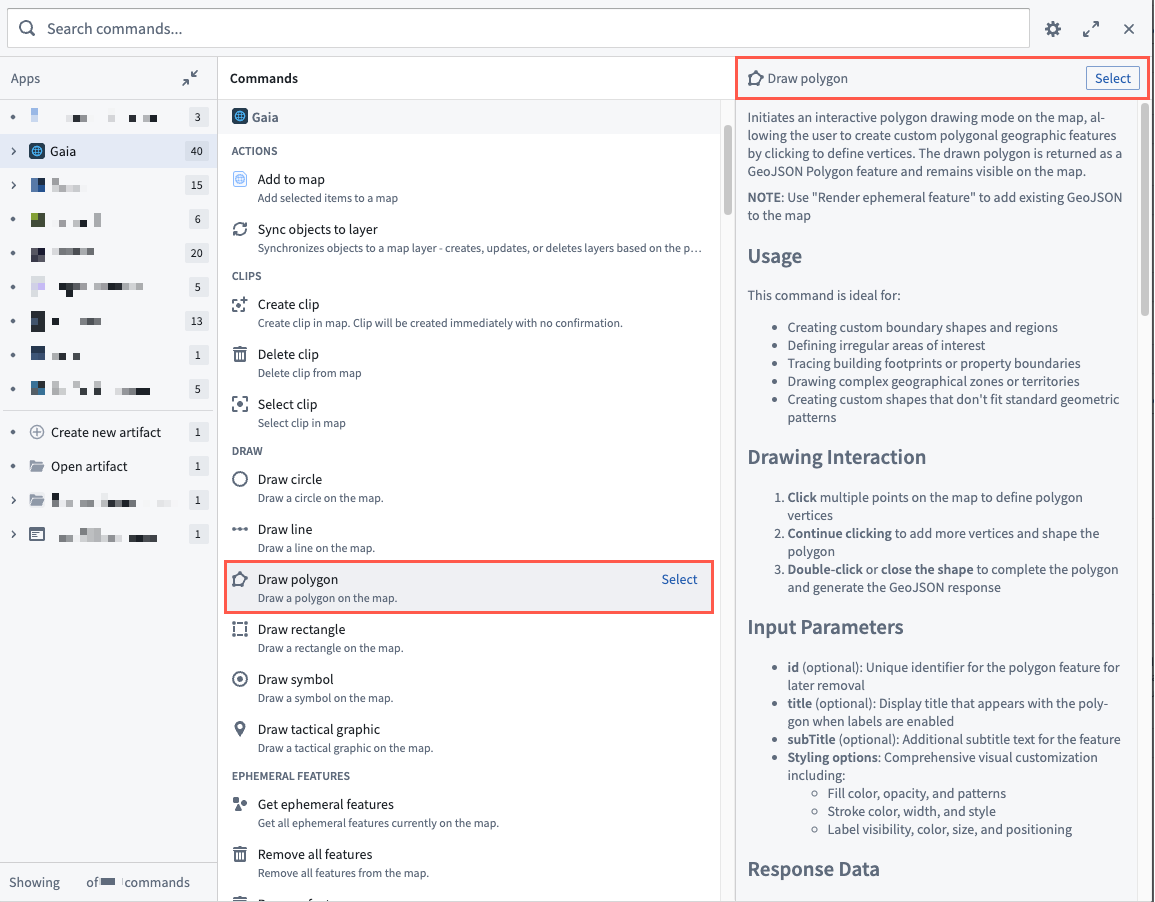
- Search for and Select a command to configure, such as Draw polygon. Once selected, you can view the command's usage documentation in the right panel.
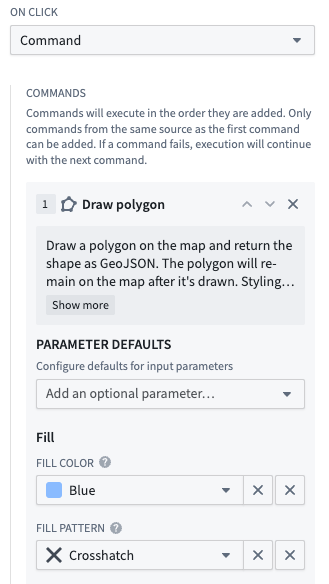
- Add optional shape styling parameters from the Parameters defaults section, such as Fill color and Fill pattern.
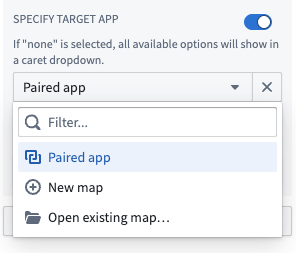
- Optionally, change the default state in the Specify target app section from Paired app; select New map if you want the command to execute on a new Gaia map or Open existing map... to add the shape to an existing map. You can use the default if you paired your Workshop with another application using the App Pairing widget.
By default, a command targets the Paired app. If your Workshop contains more than one paired application, then it will prompt you to select an application when you execute the command.
- Optionally, map the command's output to a new or existing variable in your Workshop module.
Create a command chain
You can chain multiple commands together by selecting Add command beneath Output variables. Chained commands execute in the order you add them to your Workshop module, enabling you to pass the output from one command as the input to another.
To create a valid command chain, all commands must derive from the same source application, such as Gaia or Graph. If a command fails, then chain execution continues with the next command in order.
Use the Prompt command input dialog section of the Widget setup panel to configure user prompts to review or enter command inputs based on the following conditions:
- Always prompt: Always show the commands form pop-up window, enabling users to verify and edit its input values whenever they execute the command.
- Never prompt, skip if missing required inputs: Never show the commands form pop-up window, even if user inputs are invalid. If inputs are invalid, then Workshop skips the command and moves to the next in the chain. This is the default behavior for command chains you configure using the App Pairing widget.
- Prompt missing any inputs: Show the commands form pop-up window when any inputs are missing, required or optional.
- Only prompt when missing required inputs: Show the commands form pop-up window when any required inputs are missing. This is the default behavior for command chains you configure using the Button Group widget.
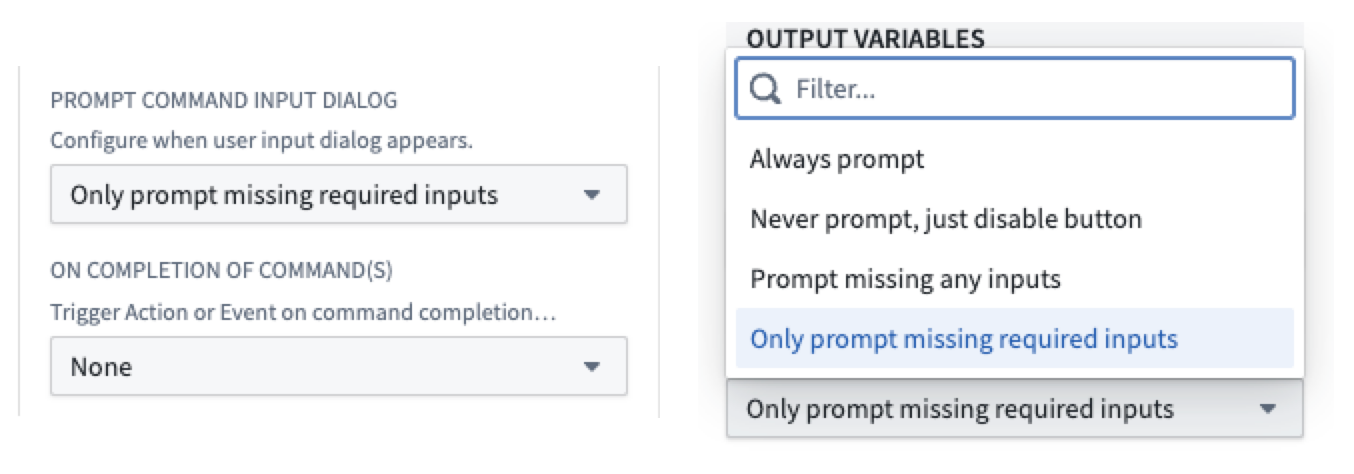
Whether you configure one command or create a command chain, you can use the On completion of command(s) section to trigger an action or event when a command completes. Commands trigger immediately after the triggering variable changes. To avoid sending stale data, configure a Listener for the derived variable directly. When you finish, select Save and publish from the top of your screen to save your changes to Workshop.
Use the App Pairing widget to configure a command
You can configure the App Pairing widget to trigger one or multiple commands when a variable in your Workshop module updates. When editing your Workshop module, select your existing App Pairing widget to launch the Widget setup panel on the right side of your screen. Follow the instructions below to configure the trigger which executes a command or instantiates a chain of commands:
- Select Add command trigger from the Trigger commands on variable update section of the Widget setup panel.
- Set a Listener to identify the variable that, when changed, triggers your command.
- Optionally add a Conditional trigger based on a new or existing Boolean variable. Workshop will skip command execution if the variable's value is
false.
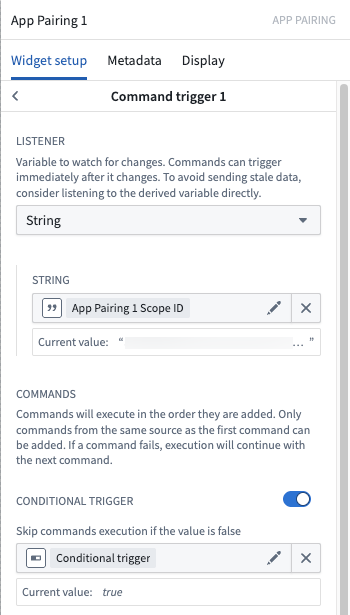
With your command trigger identified, select Add command and follow the same instructions for the Budget Group widget to create one or multiple commands in the App Pairing widget.