- Capabilities
- Getting started
- Architecture center
- Platform updates
Save and share a workbook
Saving in Insight is flexible; you can work without saving at all, or save and share workbooks for ongoing use.
Insight does not require you to save a workbook to view your analysis, making it easy to run quick, unplanned analyses without any setup. If you do not need to keep the analysis results, close the tab when done. If you have unsaved work, Insight displays an orange banner and an Unsaved tag at the top left of the screen as a reminder.
Save an Insight workbook
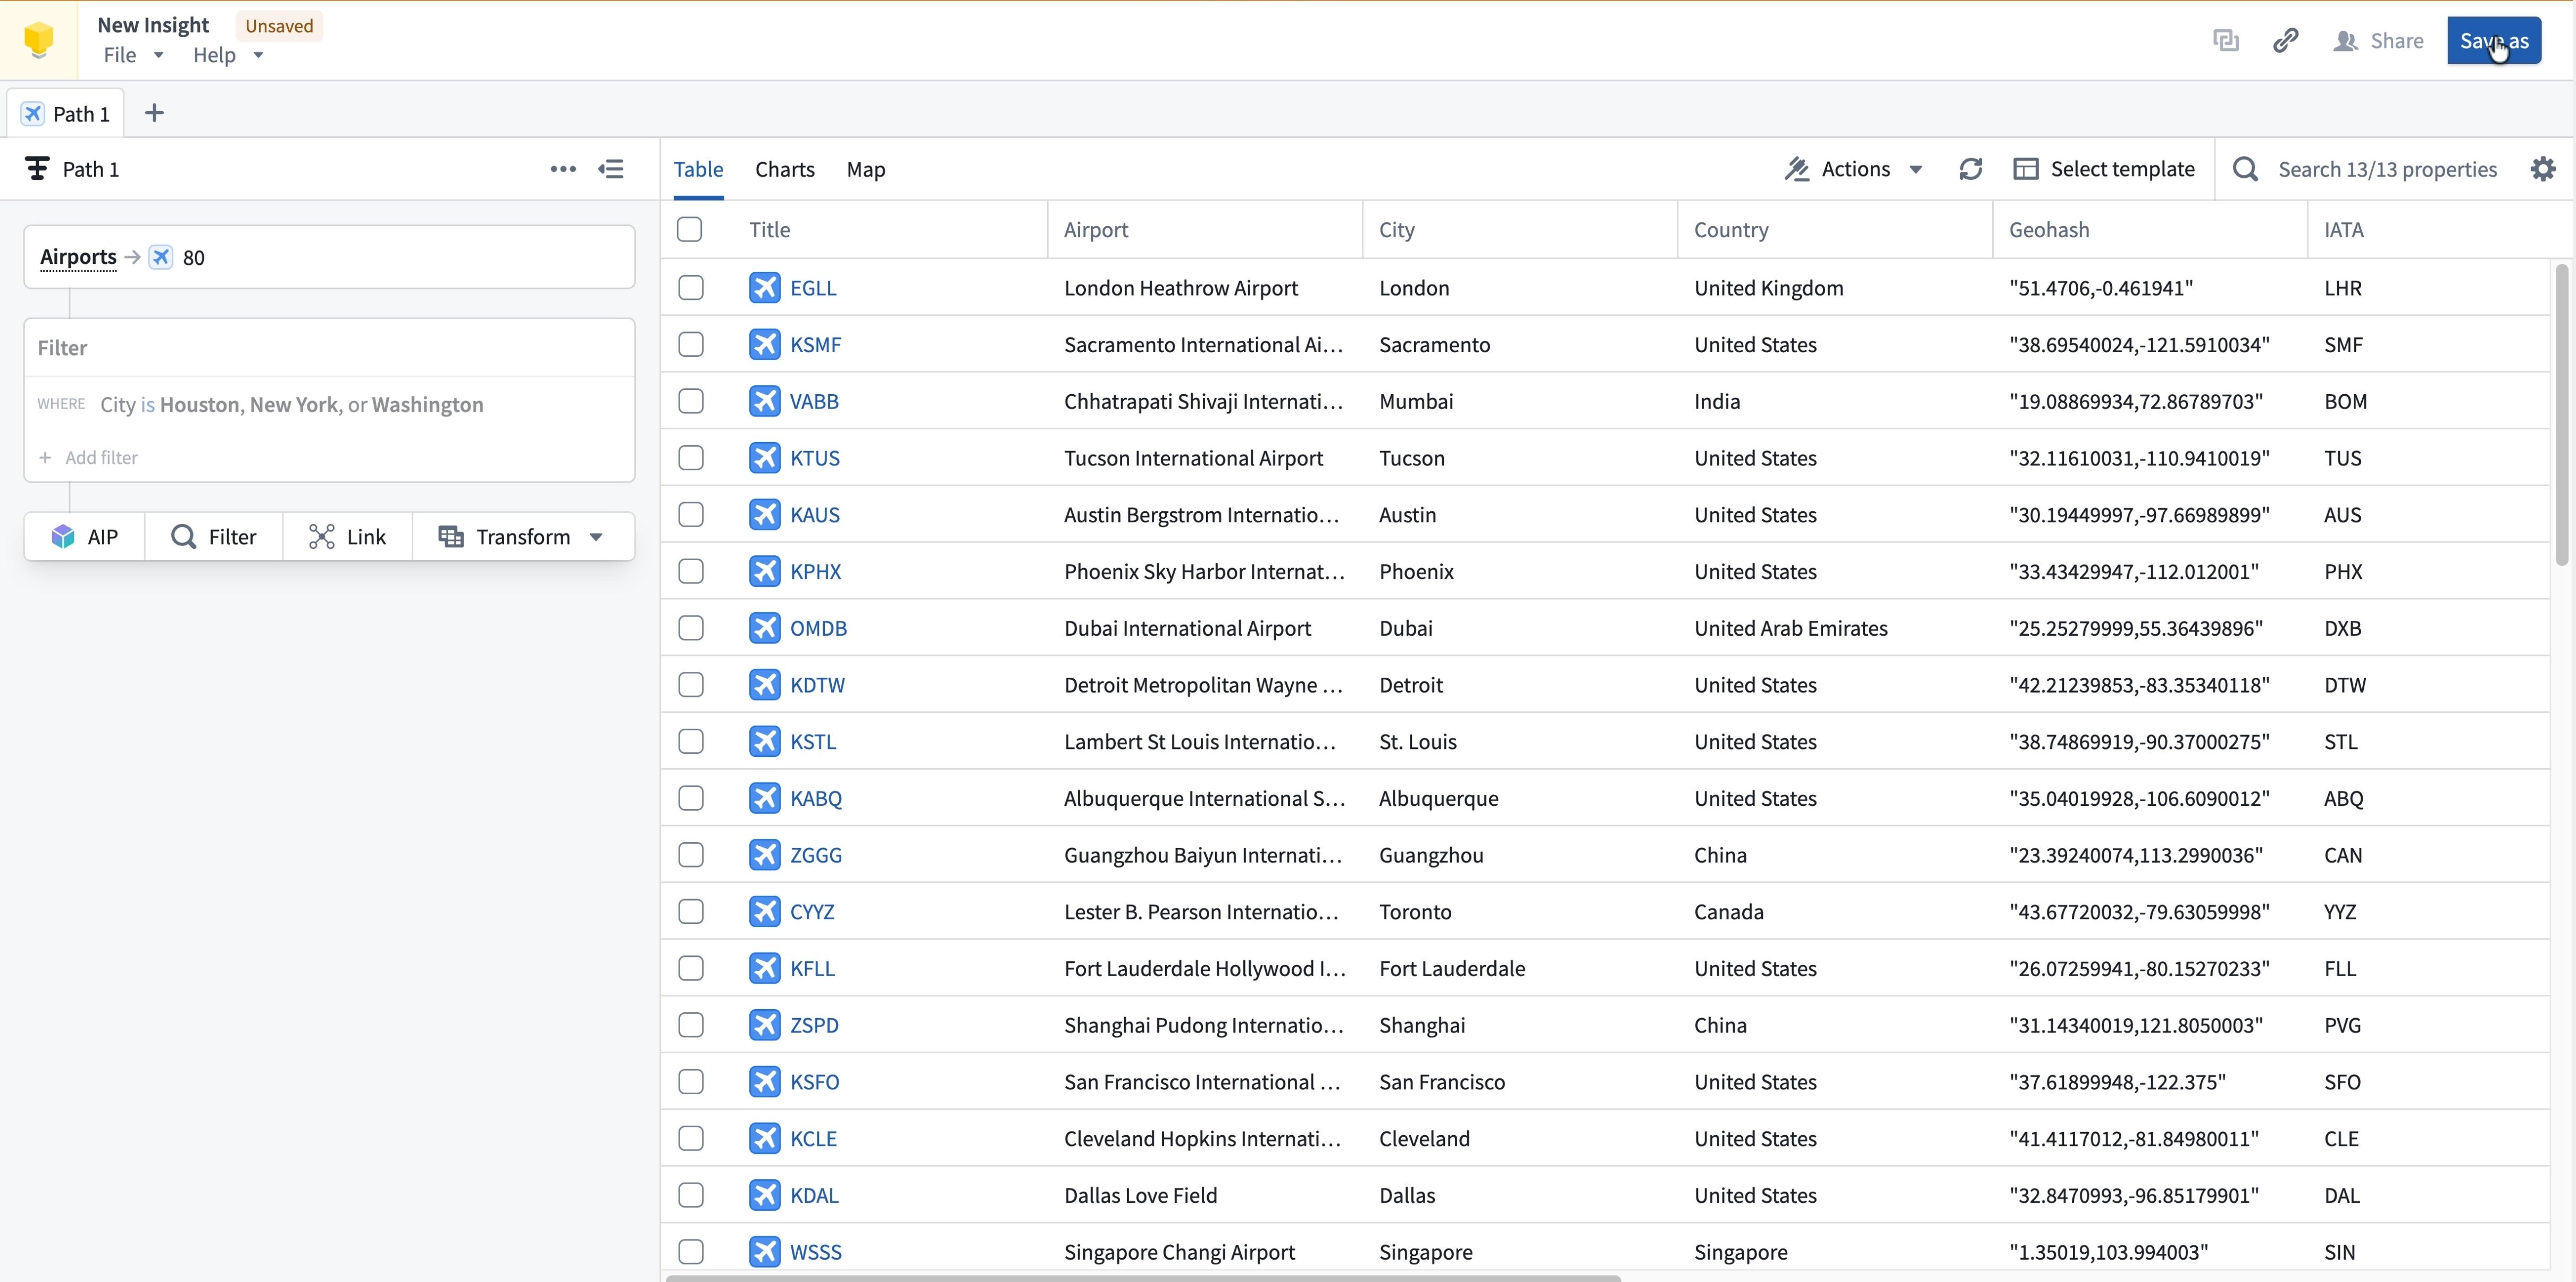
Follow the steps below to save an Insight workbook:
-
Select Save as in the top right corner of your screen.
-
Choose a name and save location for the workbook and optionally add a description.
-
Select Save.
-
A confirmation message appears at the top of the screen, and the workbook name and save location appear in the top left.
A saved workbook includes all configurations, including the analysis paths, column and chart layouts, and maps.
Publish an object set
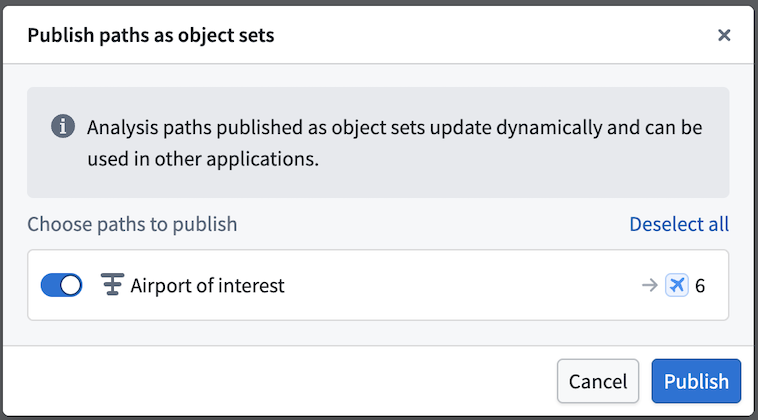
Any path in a saved workbook can be published as an object set. Publishing an object set allows the path to be searchable and used in other applications, including Quiver and Vertex. Object sets can also be referenced by other Insight users. Since published object sets can be used in other workflows, changes made to the backing path of the object set will directly impact all users of the object set.
Follow the steps below to publish an object set:
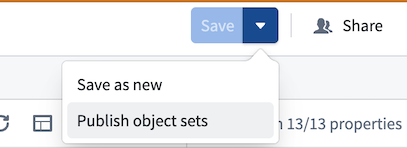
- Select the Save dropdown arrow in the top right corner of a saved workbook, then choose Publish object sets.
- Select the paths to publish. Once published, the object set will be discoverable throughout the platform, and the backing path will display a
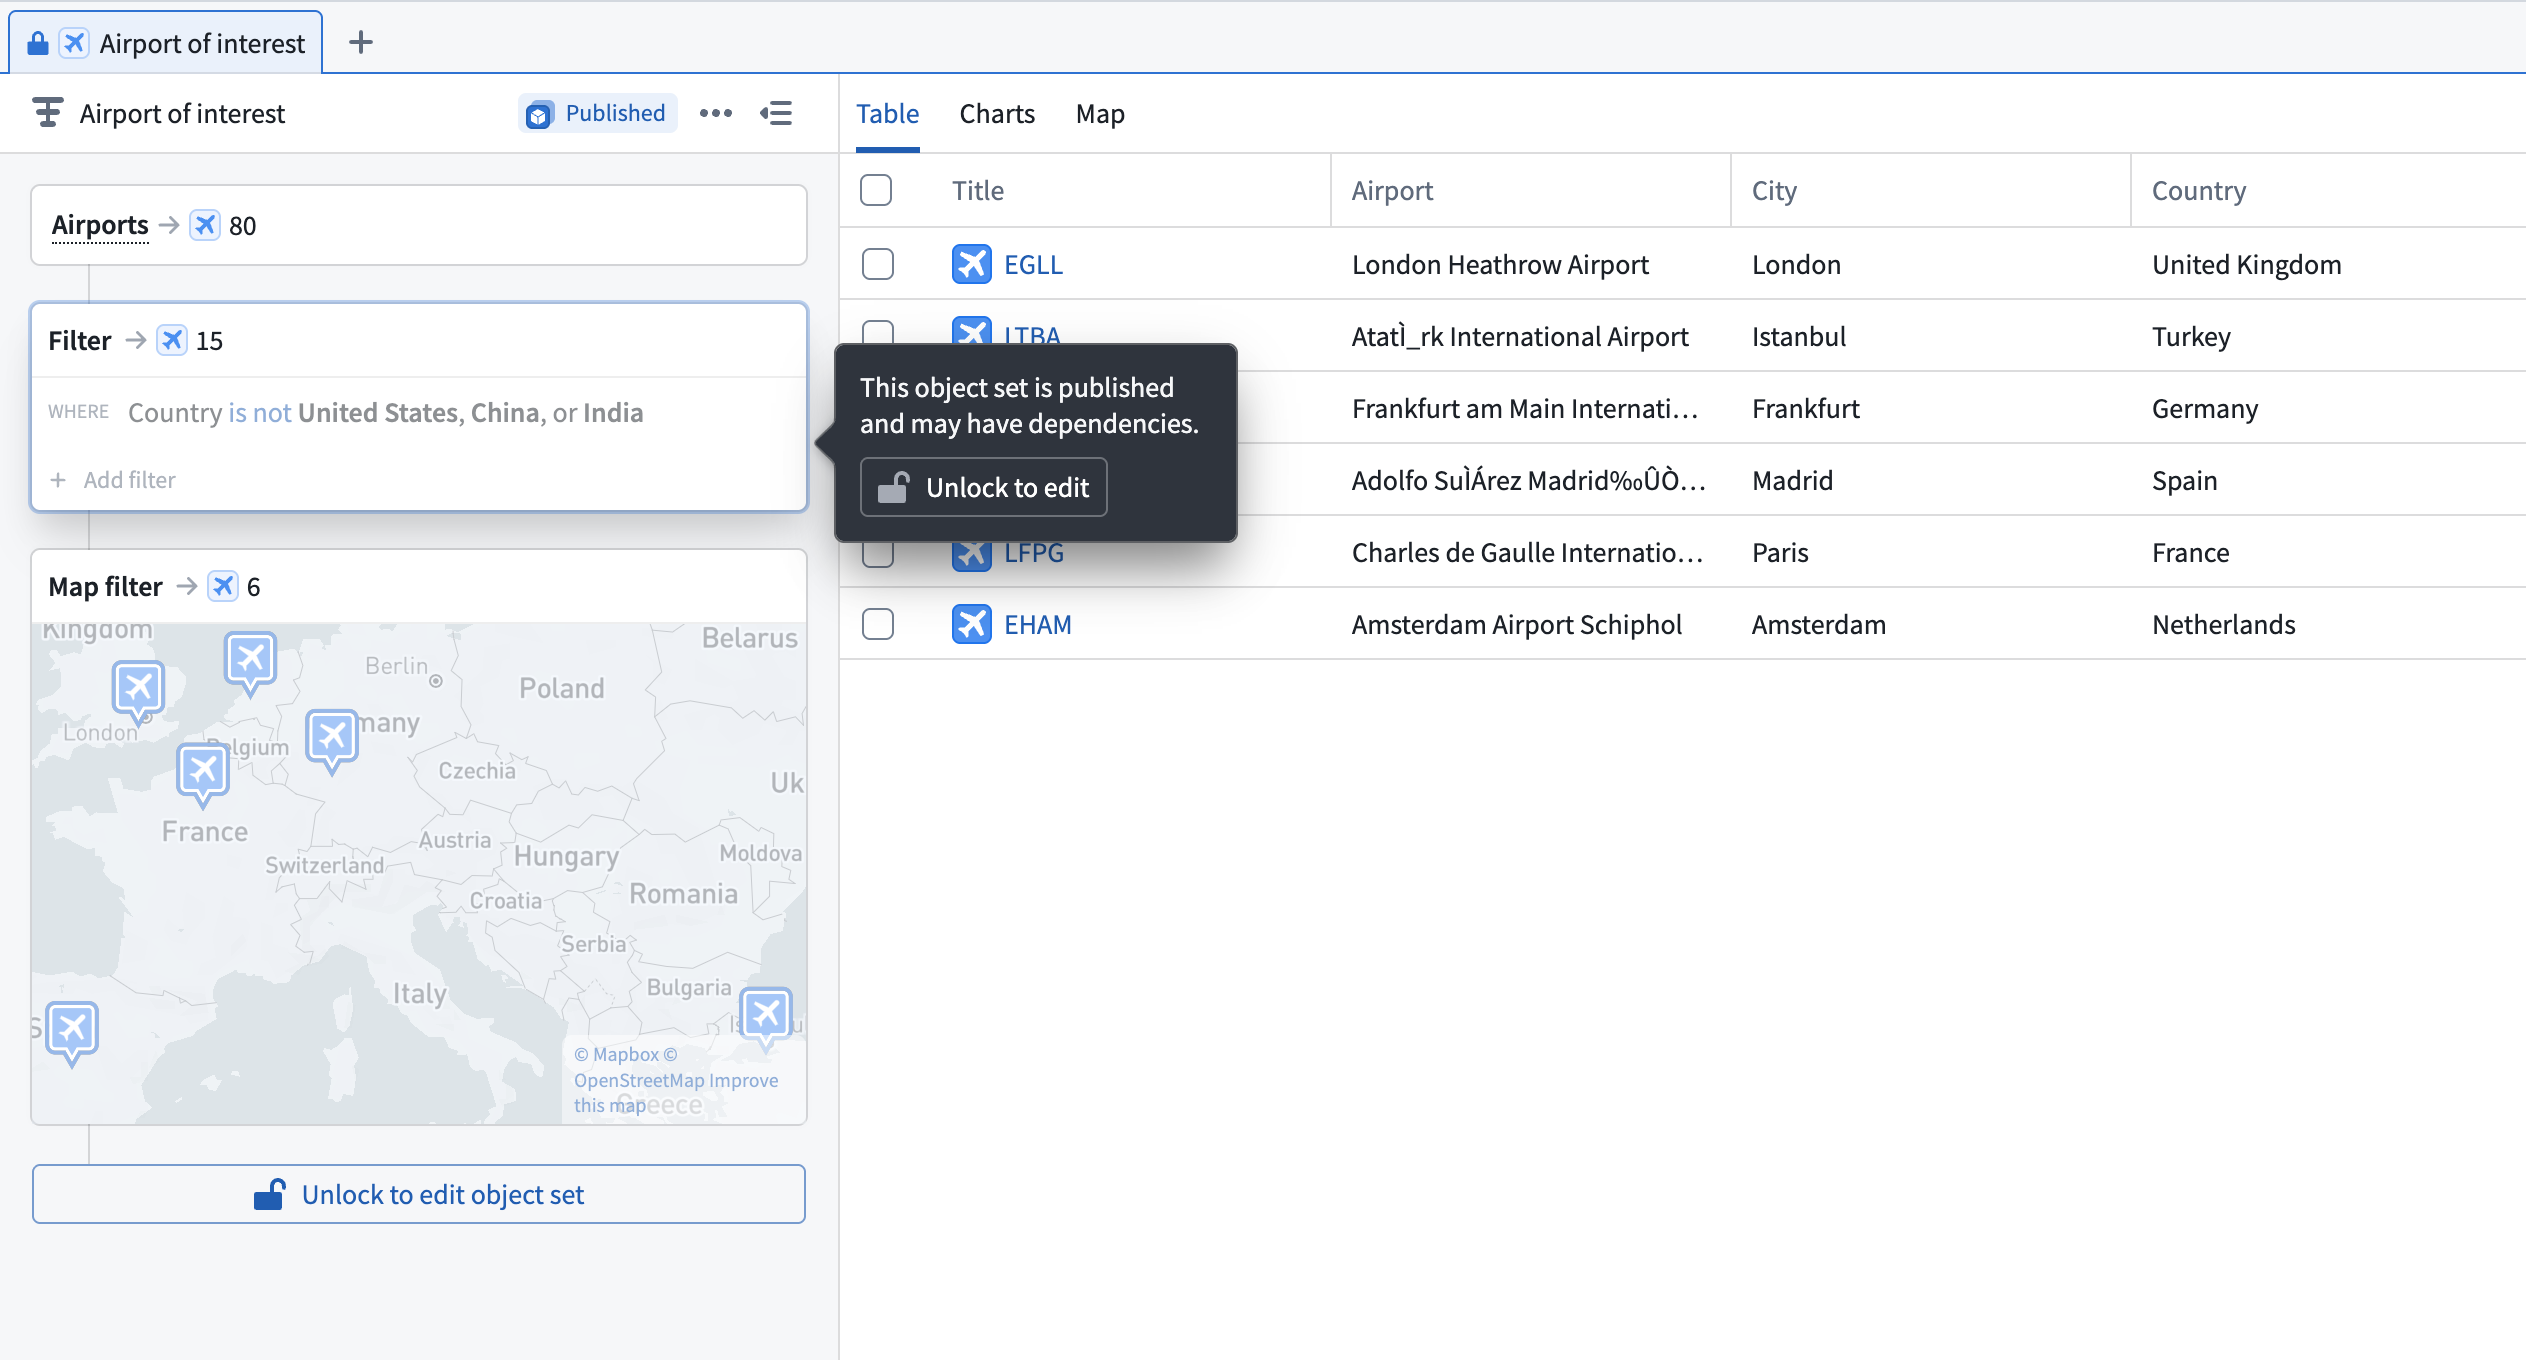
Publishedtag.
The backing path of a published object set displays a lock icon, indicating the path is read-only by default. To modify the published object set, you must have Edit access to the workbook to unlock the path. Unlocking requires confirmation to ensure edits are intentional, as changes will propagate to all instances of the object set.
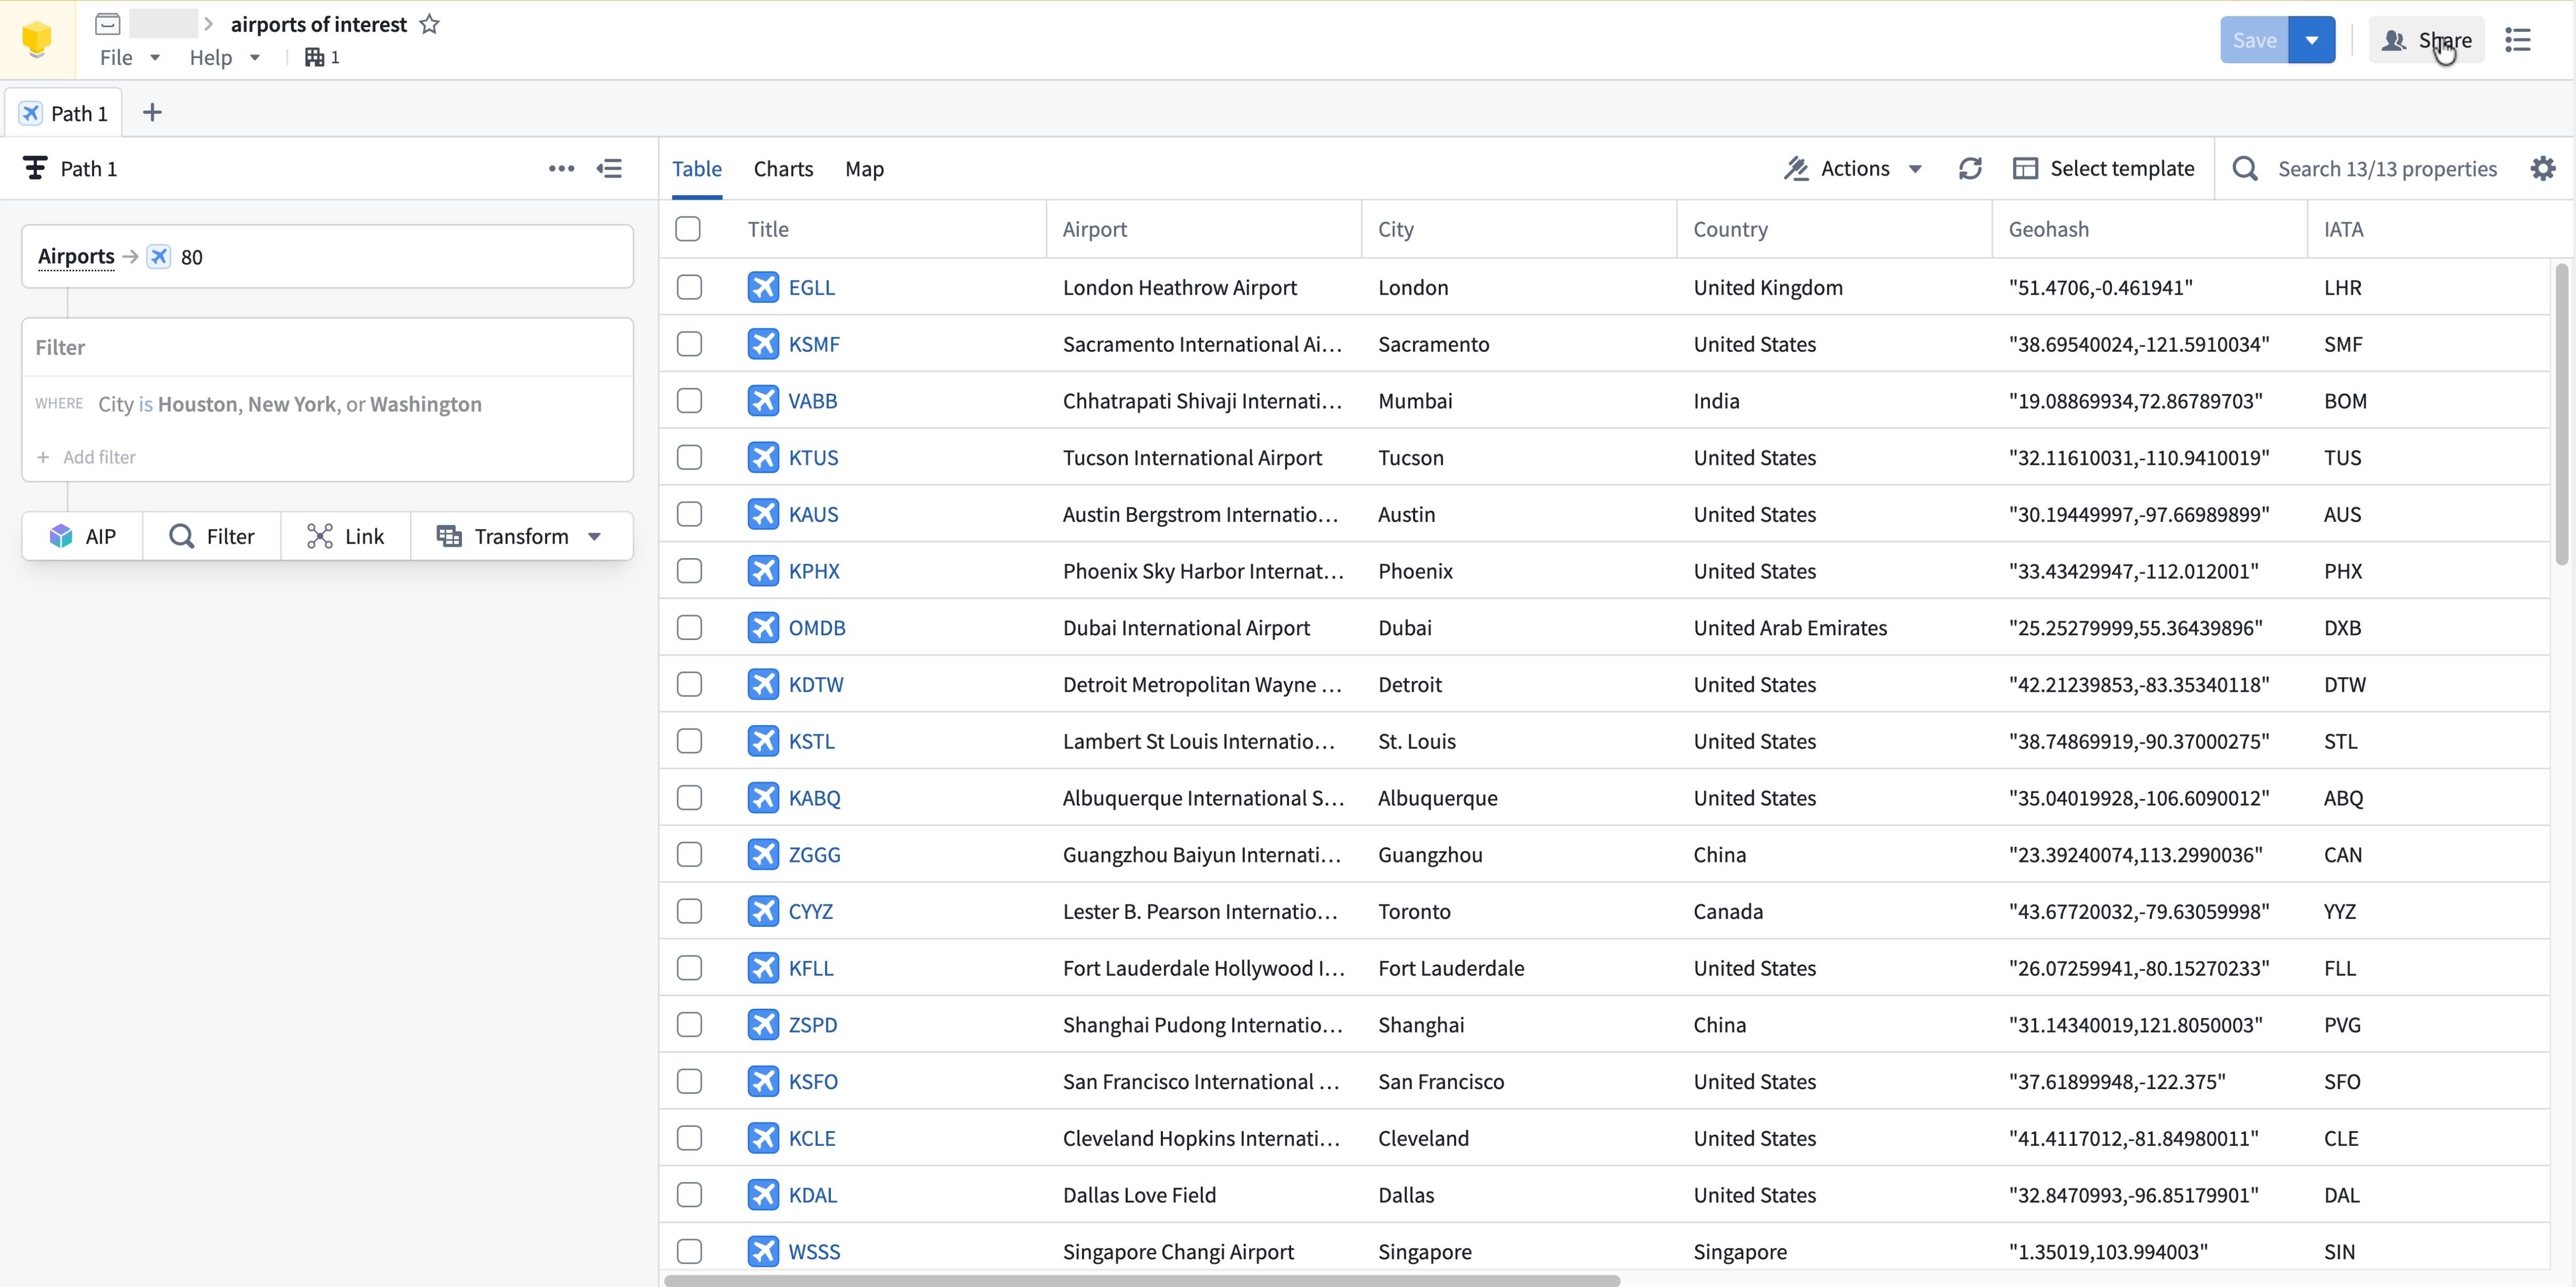
Share a workbook
You can share an Insight workbook to specific users through link sharing or access grants. Follow the steps below to open the available sharing options:
- Select Share in the top right corner of the saved workbook.
- In the Access panel, directly grant roles to specific users or groups, or toggle on Link sharing.
Option 1: Share with specific users
- Under Manage roles, select the Add a user or group search field and enter a user or group name.
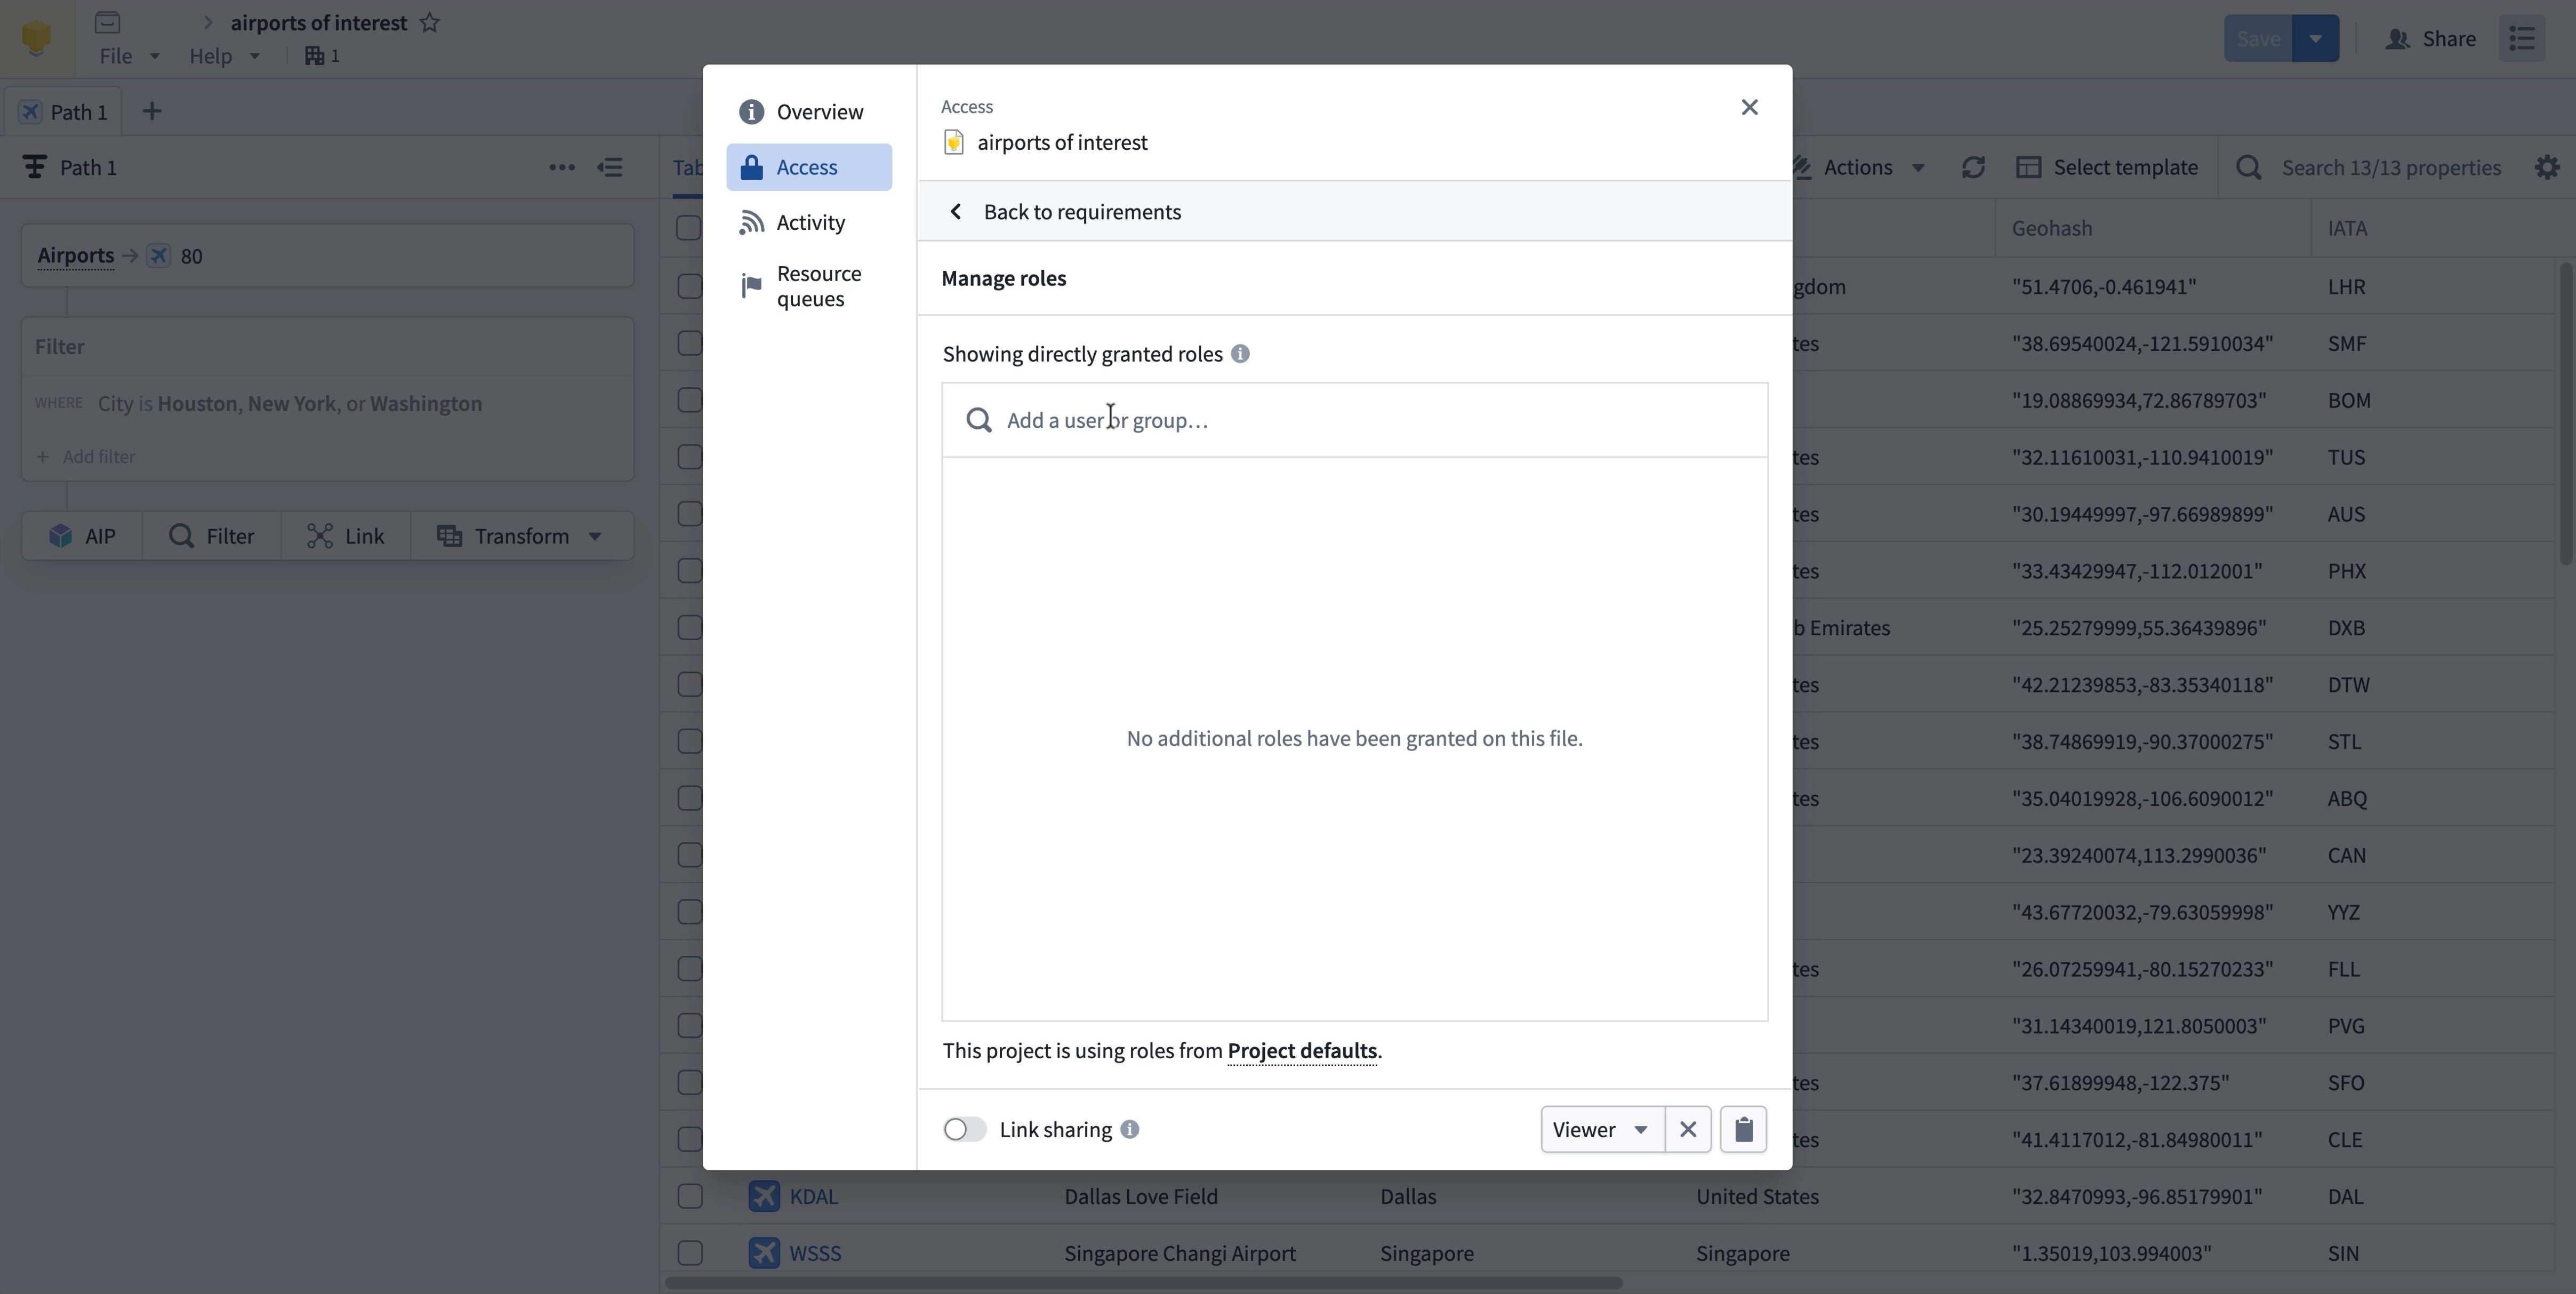
- Find the user or group from the Search results dropdown list and select + Add.
- Assign an access role to the user or group, then select Save.
Added users and groups will receive a notification when access is granted.
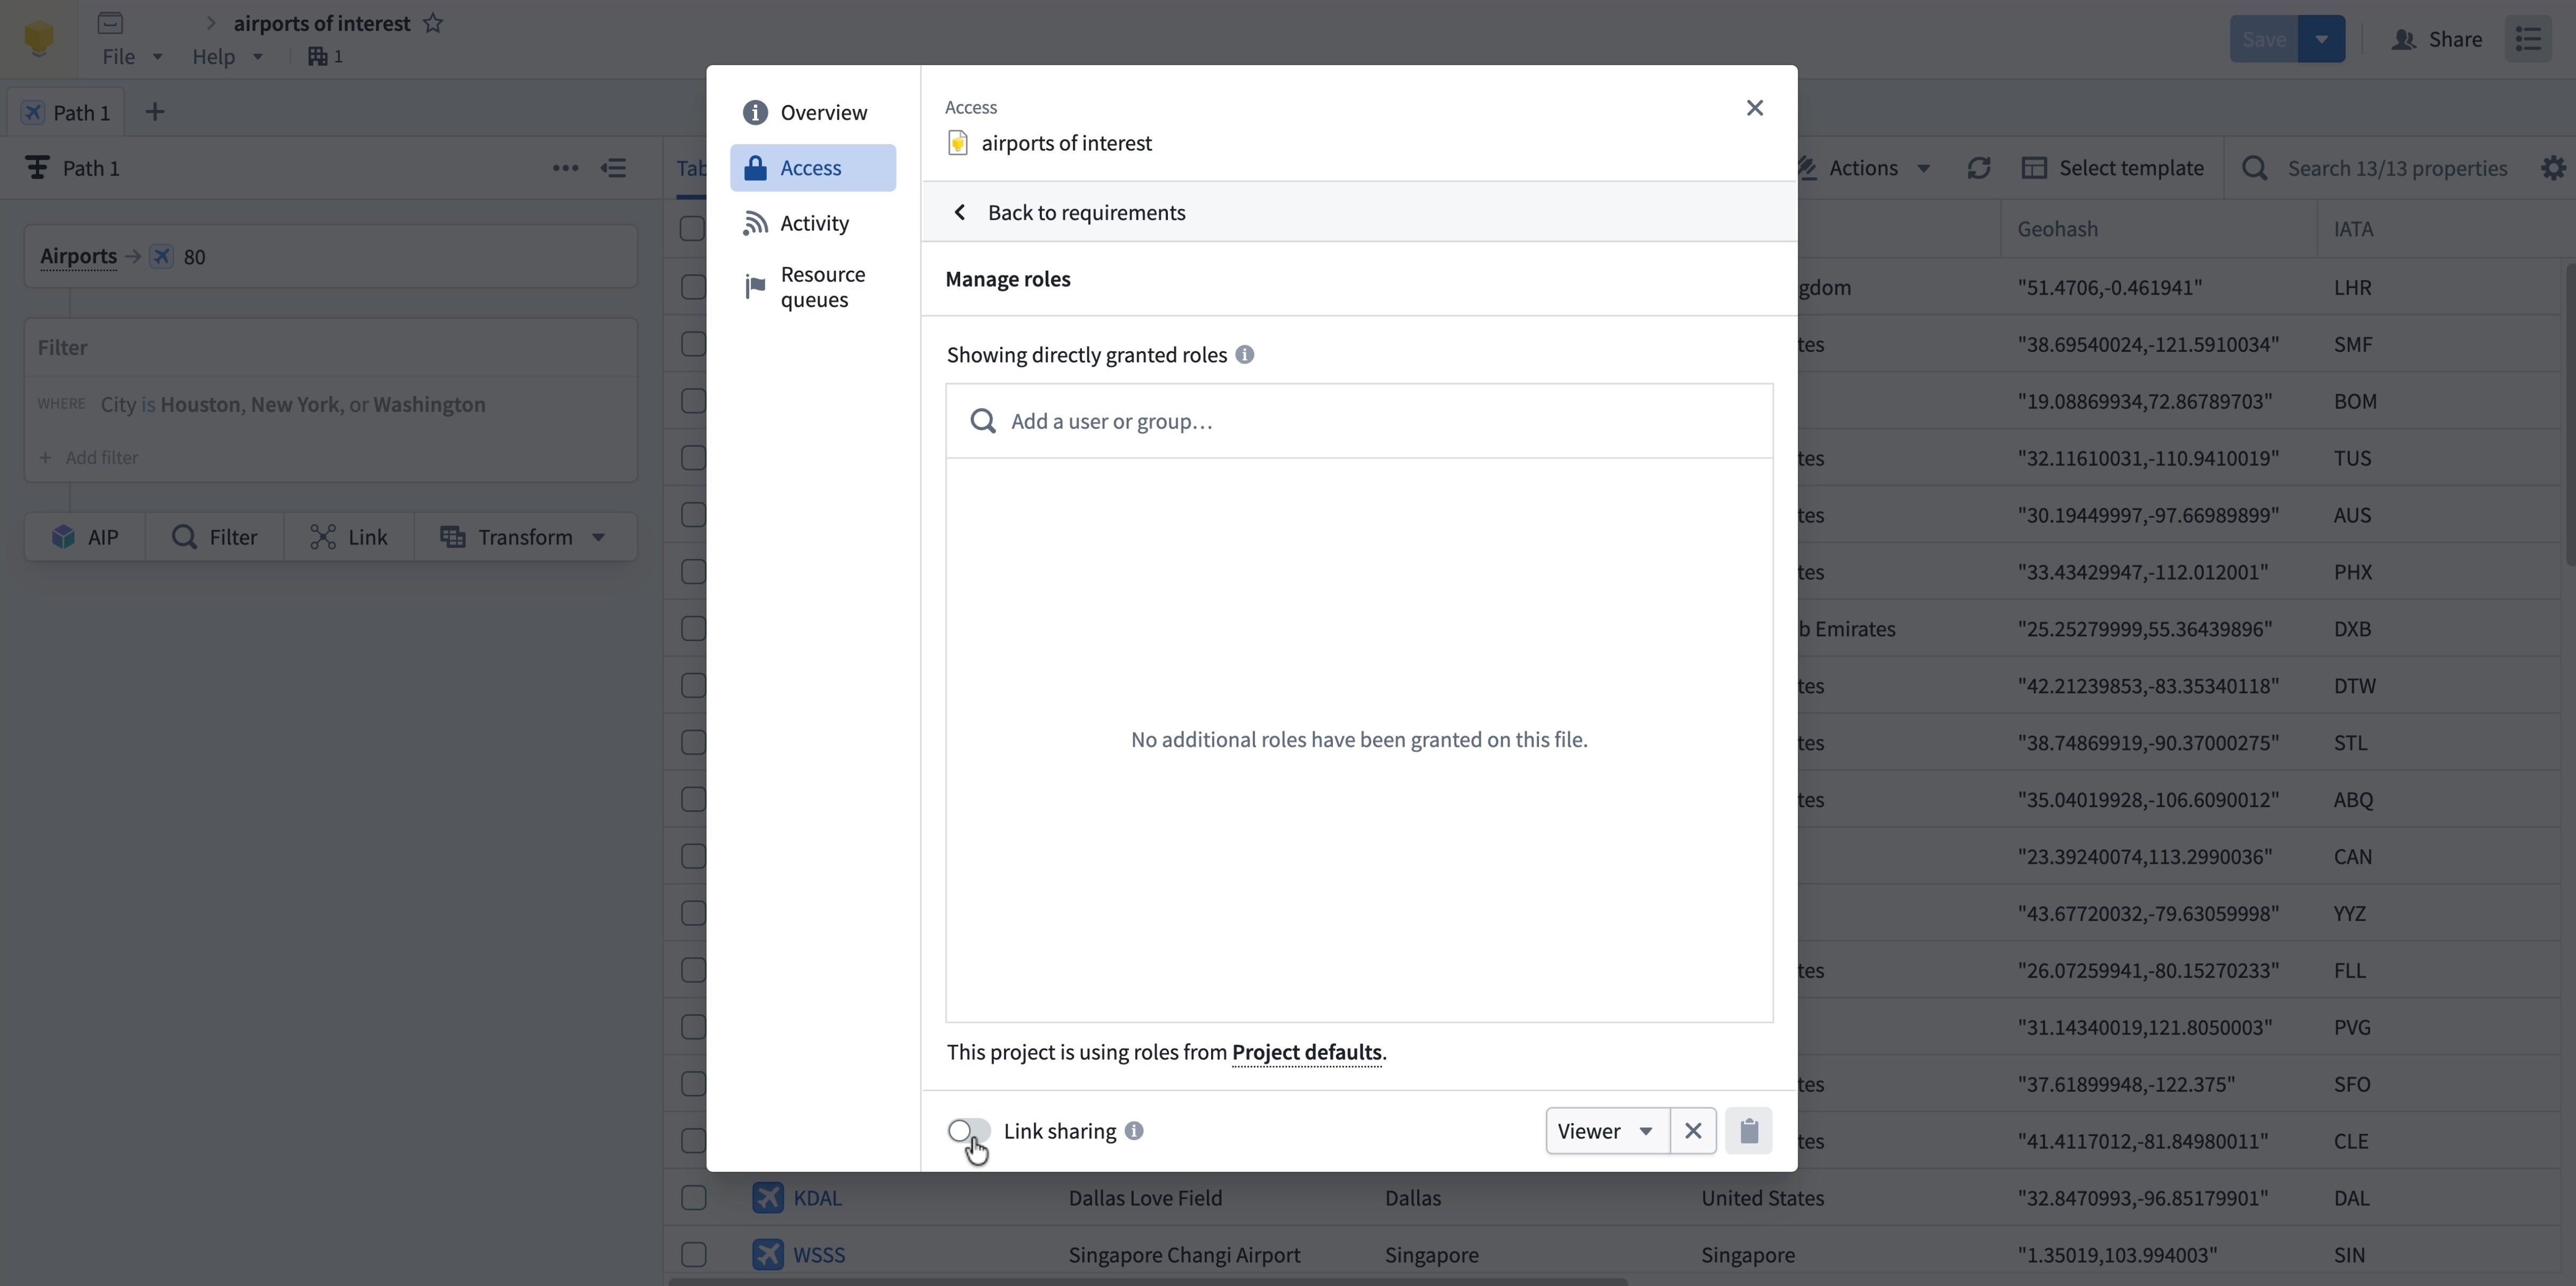
Option 2: Enable link sharing
-
At the bottom of the Access panel, toggle on Link sharing.
-
From the dropdown menu in the lower right corner, choose the access role for the users who access the workbook from a shared link.
-
Select the clipboard icon to copy and share the workbook link.
Turn off link sharing
To disable link sharing, toggle off Link sharing.
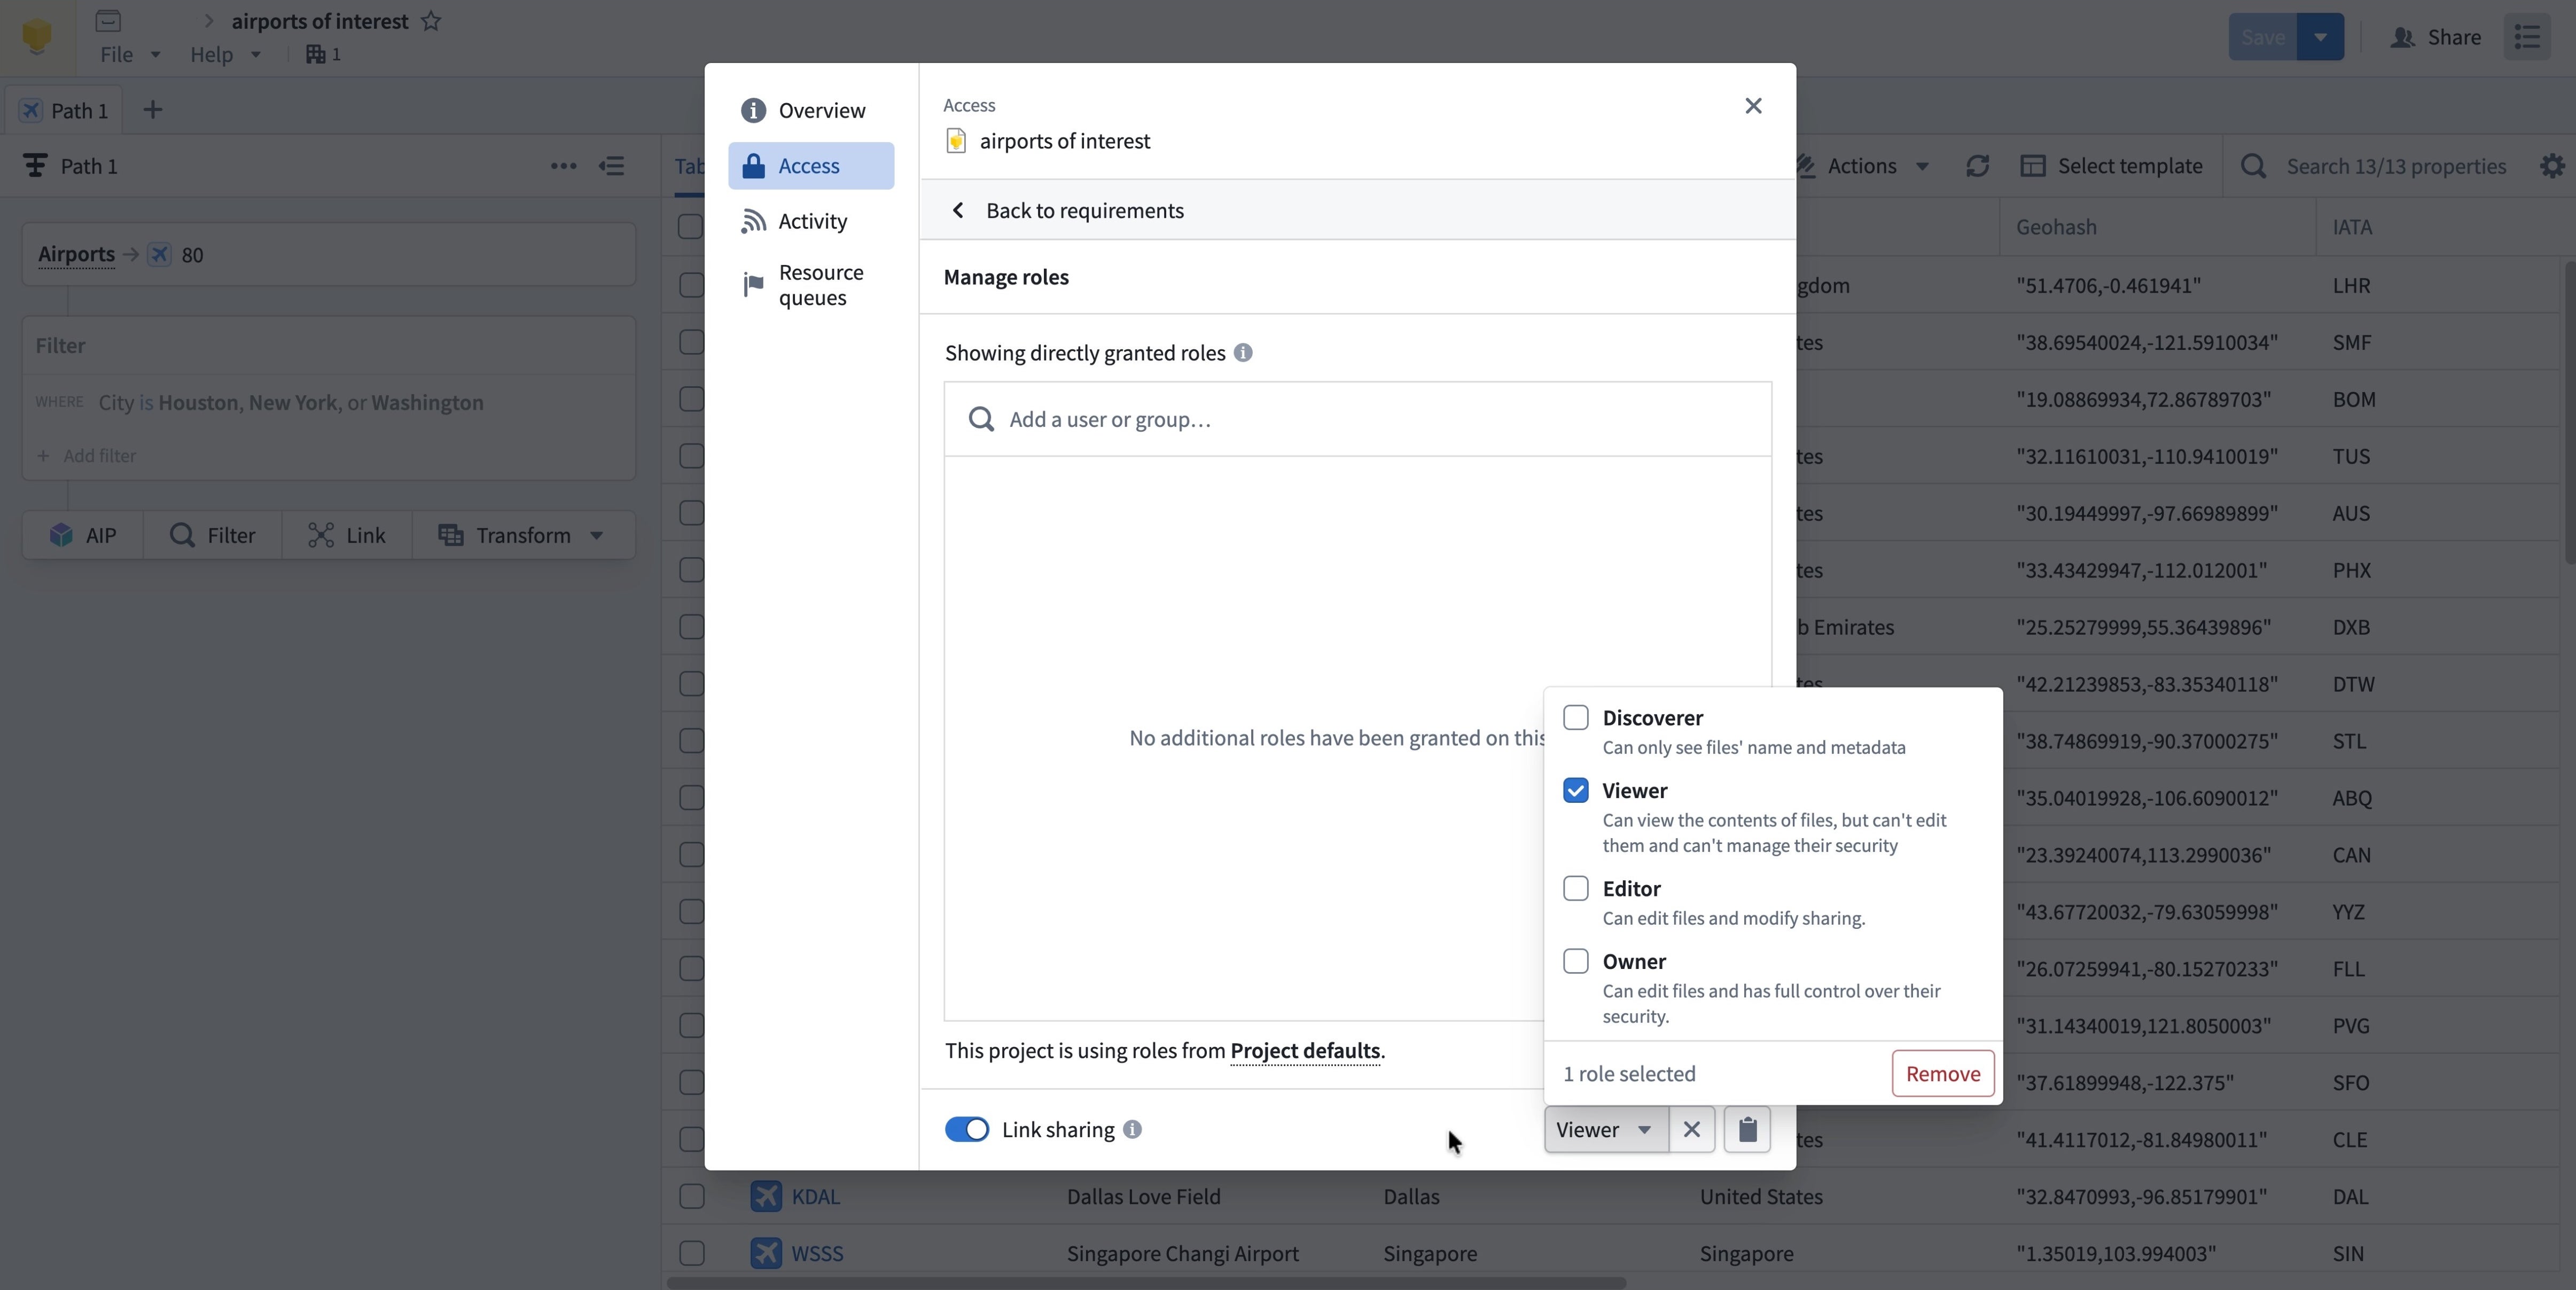
Access roles
When sharing your workbook with other users or groups, assign them one of the following access roles:
Discoverer: Users can only see that the workbook exists and view its metadata, but cannot access its contents.Viewer: Users can view workbook contents but cannot save edits to the original. Edits can be saved to a copy of the workbook.Editor: Users can edit the workbook, save changes, and modify sharing settings.Owner: Users have full control over the workbook, including sharing and security settings.
For simple read-only sharing, Viewer is the recommended role. Users can view the analysis and save a copy if needed.