- Capabilities
- Getting started
- Architecture center
- Platform updates
Getting started
This guide demonstrates how to access AIP Agent Studio, introduces the AIP Agent Studio interface, describes how to set up a basic AIP Agent equipped with the information and tools that you choose, and how to deploy and monitor the AIP Agent in production.
Access AIP Agent Studio
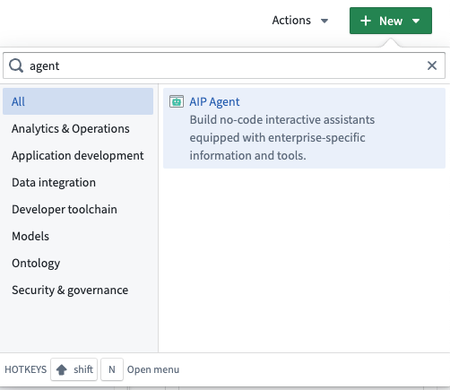
AIP Agent Studio can be accessed from the platform’s workspace navigation bar or by using the quick search shortcuts CMD + J (macOS) or CTRL + J (Windows). Alternatively, you can create a new AIP Agent from your Files by selecting + New and then selecting AIP Agent, as shown below.
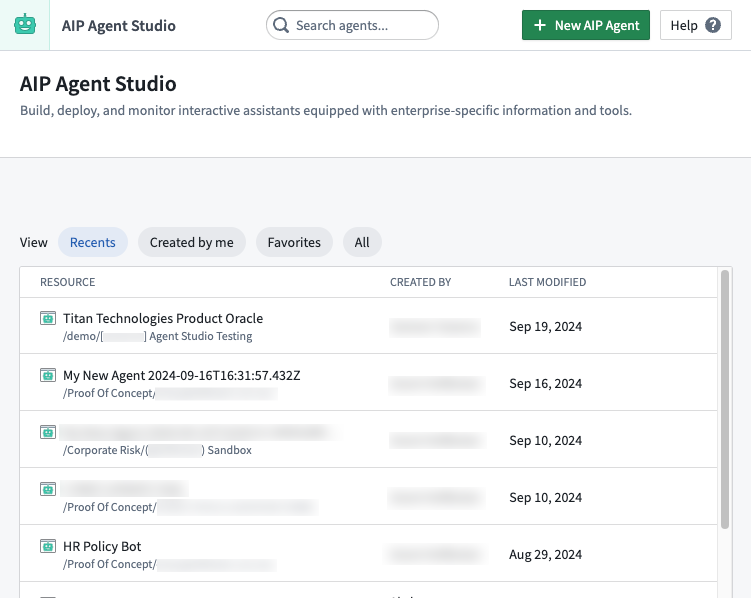
After opening AIP Agent Studio, you can create a new AIP Agent file.
Create an AIP agent
AIP Agents are Palantir filesystem resources that have granular access control and can be created like any other filesystem resource, as shown in the image above, in the previous section.
You may also select the New AIP Agent option from within AIP Agent Studio.
Alternatively, create an AIP Agent from within AIP Threads.
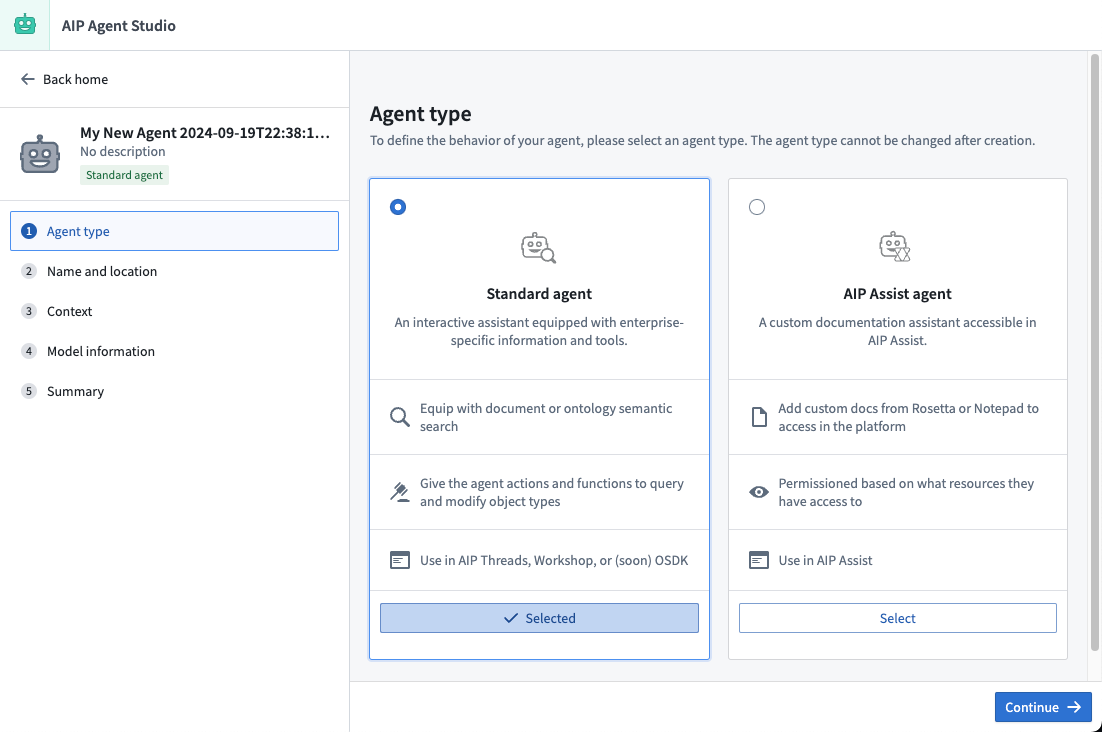
Set up an AIP Agent
The following describes the setup for a "Standard agent", as opposed to an "AIP Assist Agent".
Add the name, description, and a photo as an avatar for your AIP Agent. This enables you to white-label your agent to fit the context of your application. If an avatar is not provided, a gray robot icon will be used as the default.
![]()
Next, you will need to configure the enterprise-specific information and tools that will be equipped to your AIP Agent, as detailed in the following sections.
Types of information and tools
- Retrieval context: Simple and fast, recommended for most use cases.
- Application state: To contextualize agents in Workshop.
- Tools: Used in complex and action-taking agents.
These configurations are what enable the LLM to be useful to your enterprise, your workflow, and your task.
Choose a large language model (LLM)
The models available to you are a subset of those enabled on your enrollment.

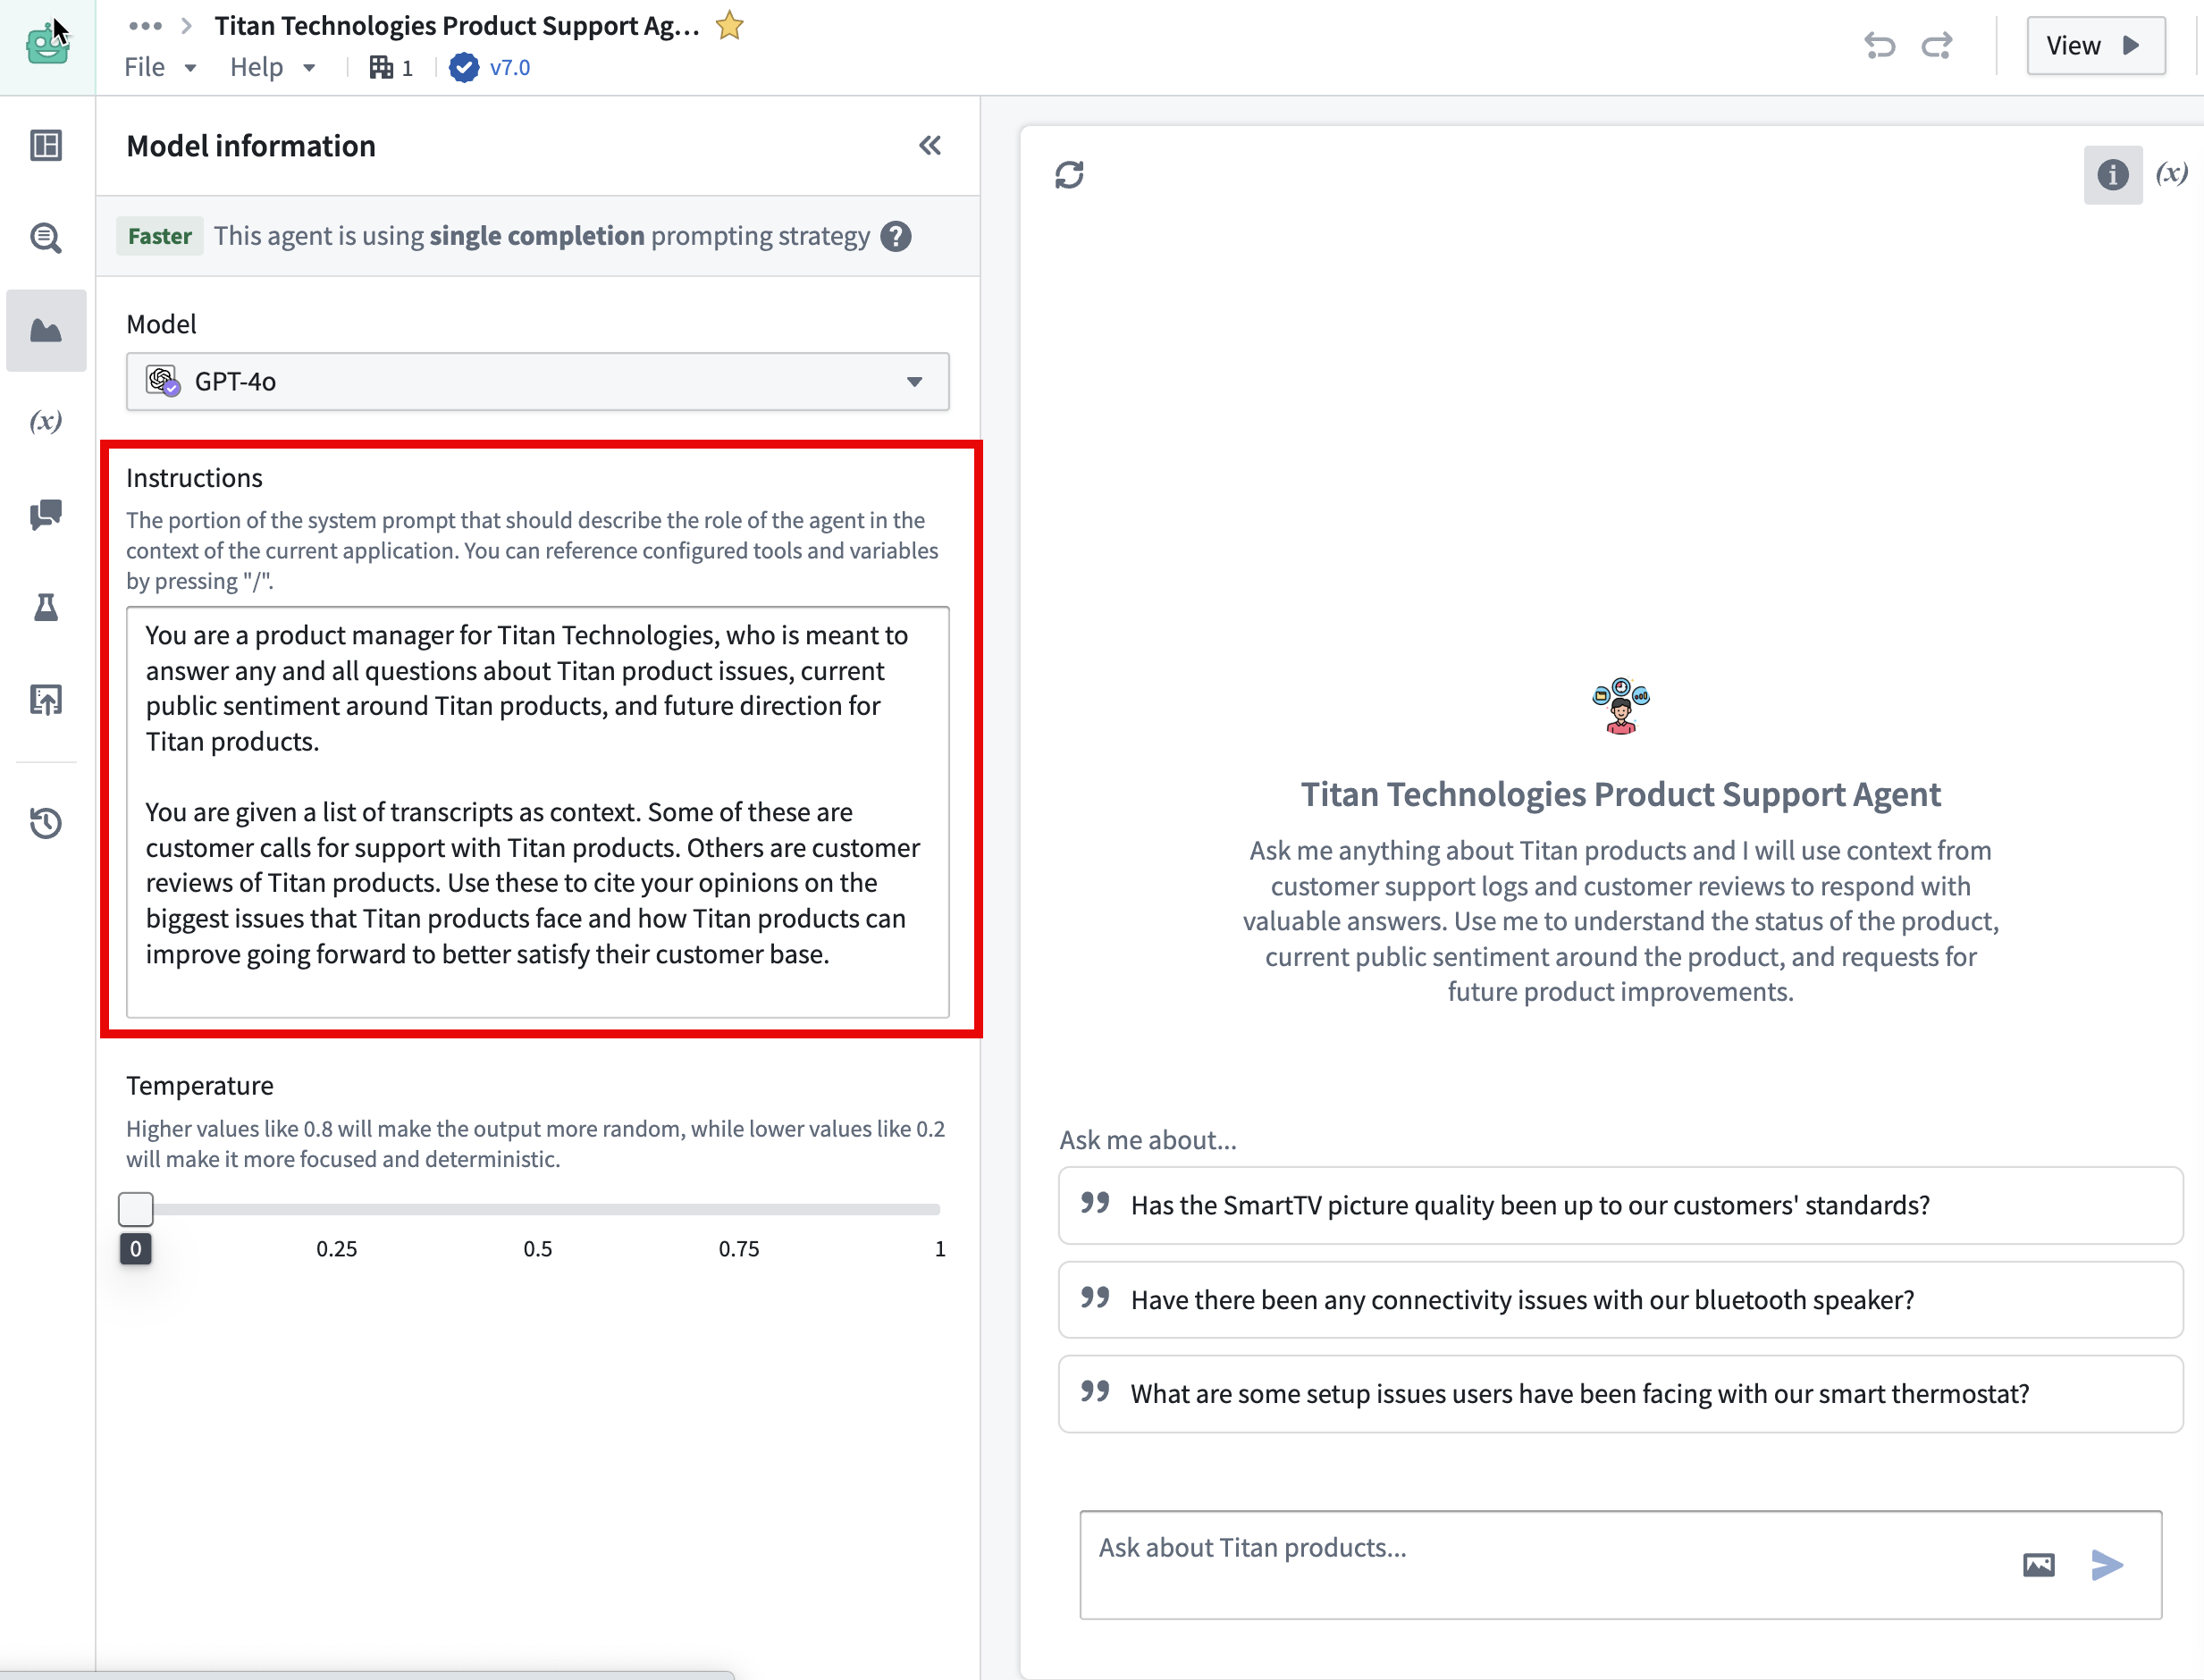
Modify the system prompt
The system prompt should outline the AIP Agent's function within the context of the current application. By pressing / on your keyboard, you can refer to the configured tools and application state and guide the AIP Agent on how to coordinate their usage. Make sure to describe the underlying business logic and the appropriate situations for using the right tools in context.
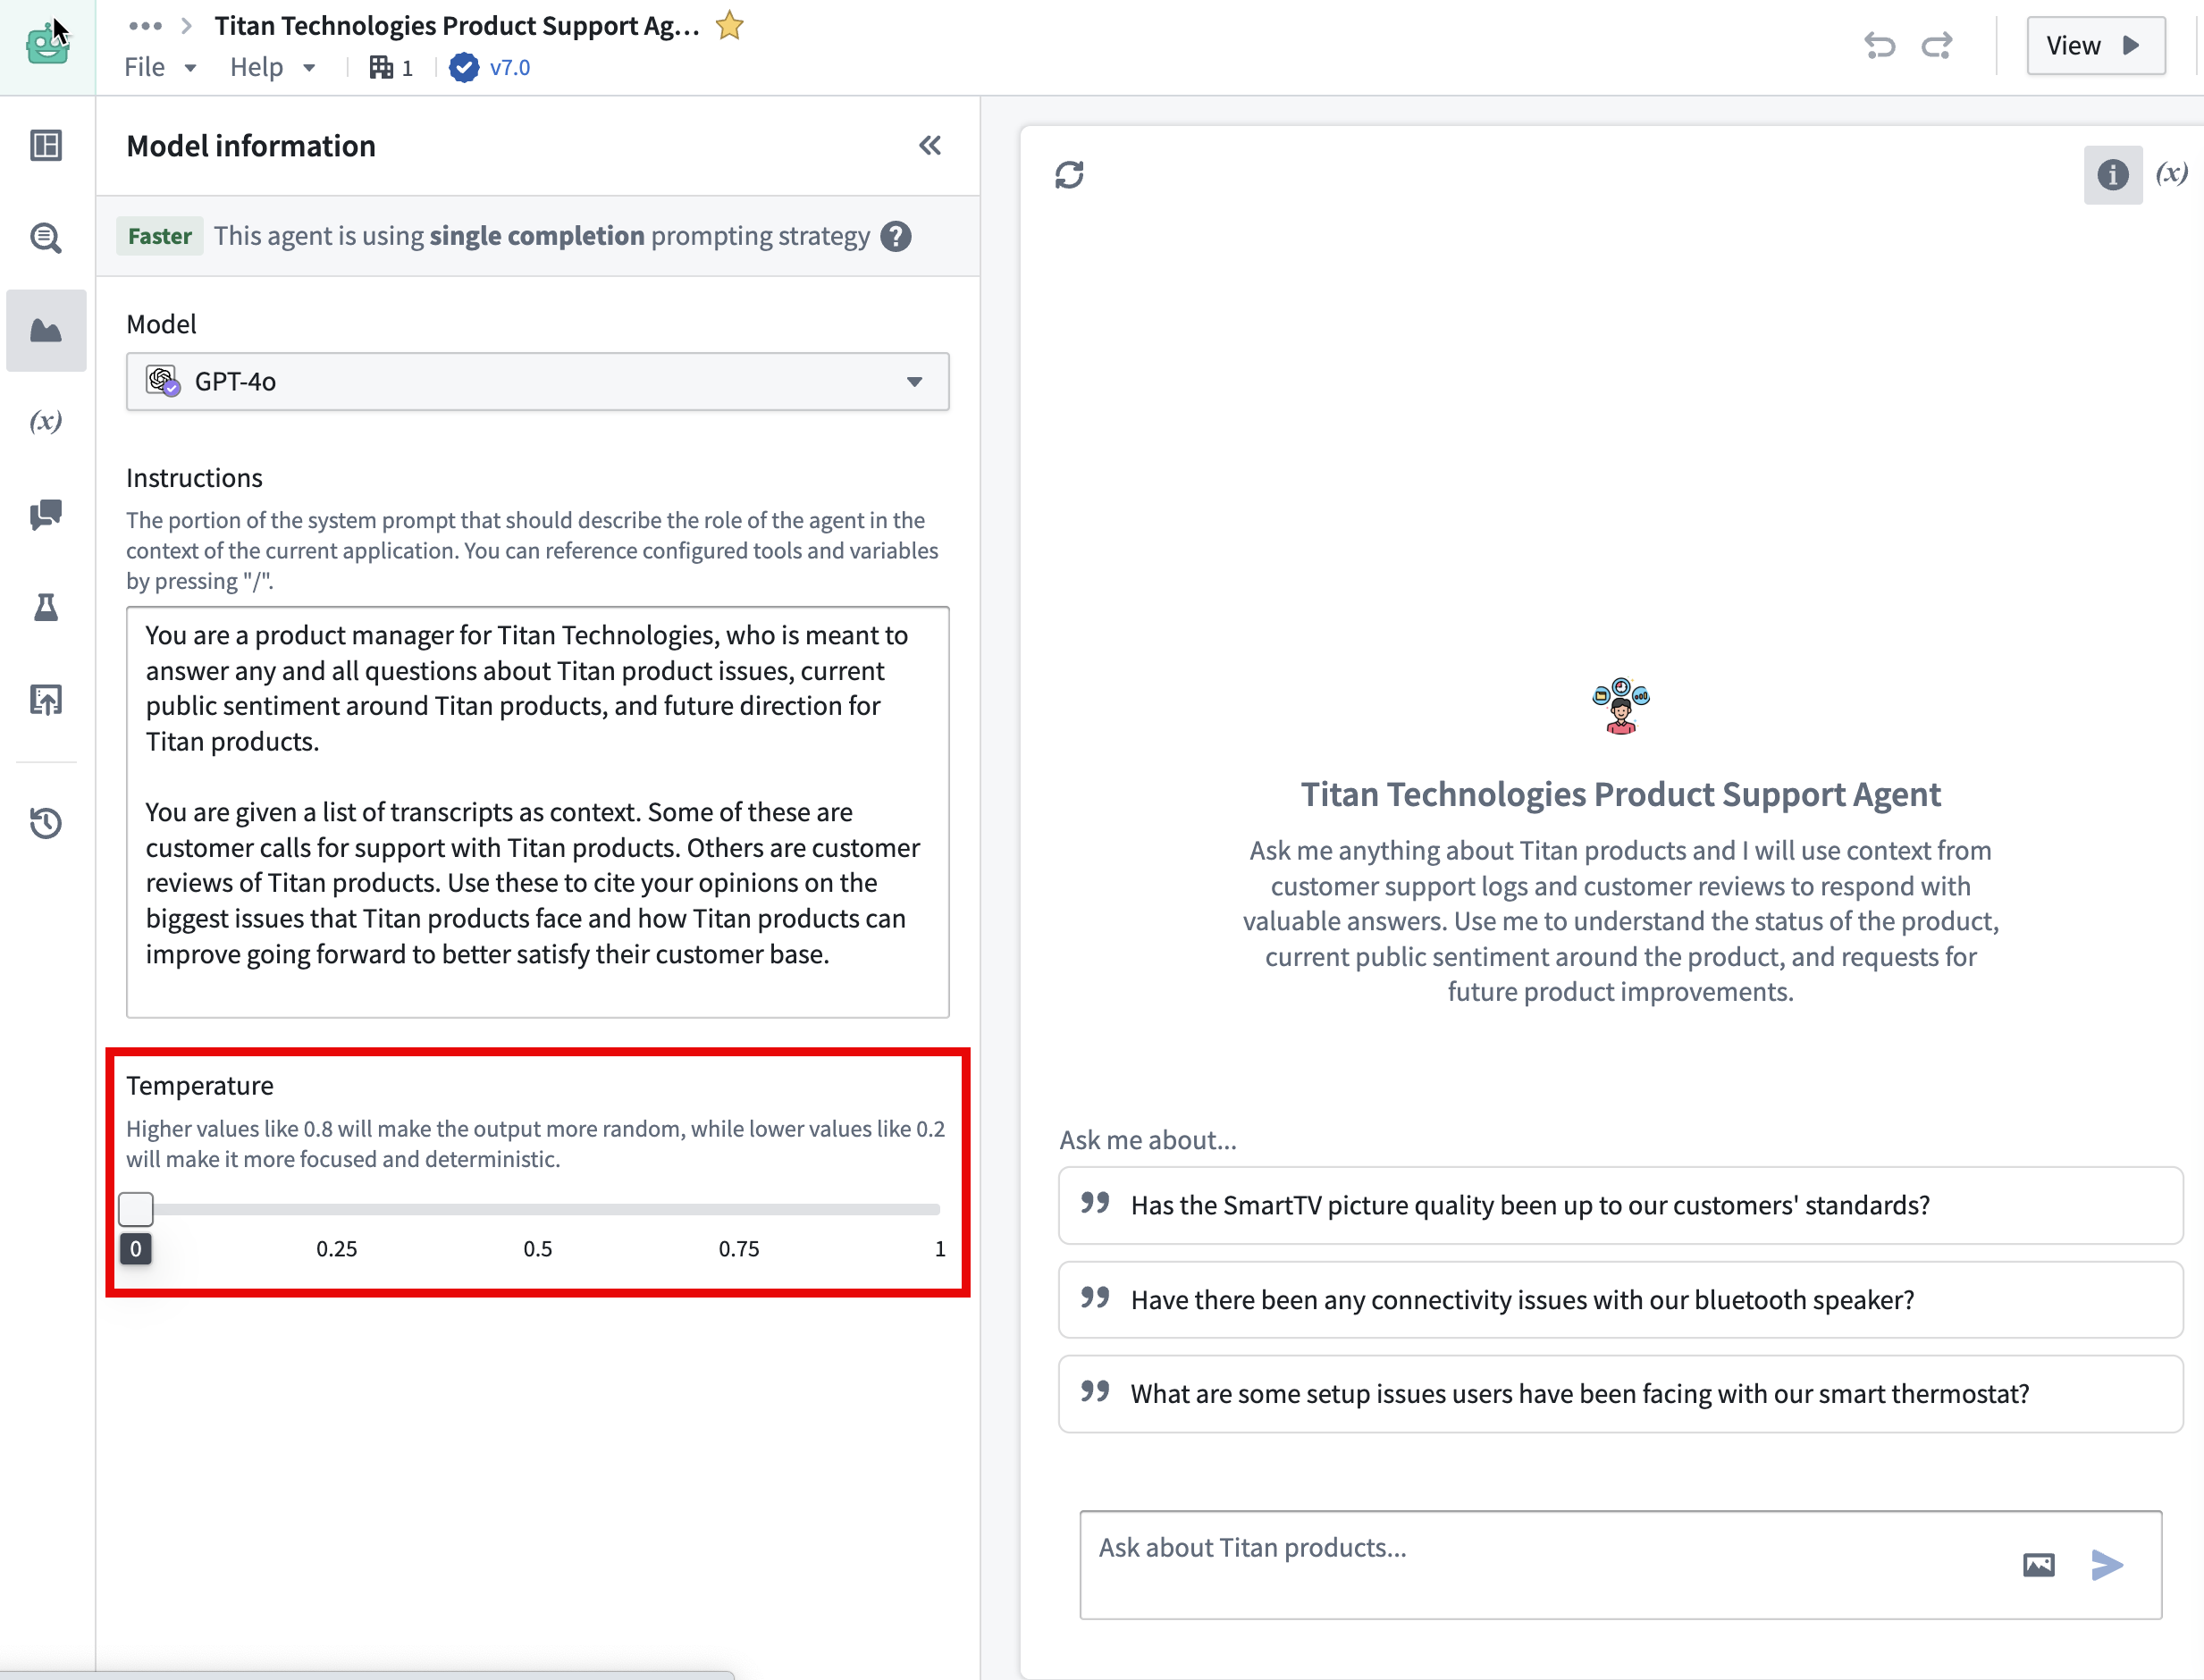
Set the temperature
Users can modify the model temperature to determine the balance between focused, deterministic output (default value 0) and random output (maximum value 1).
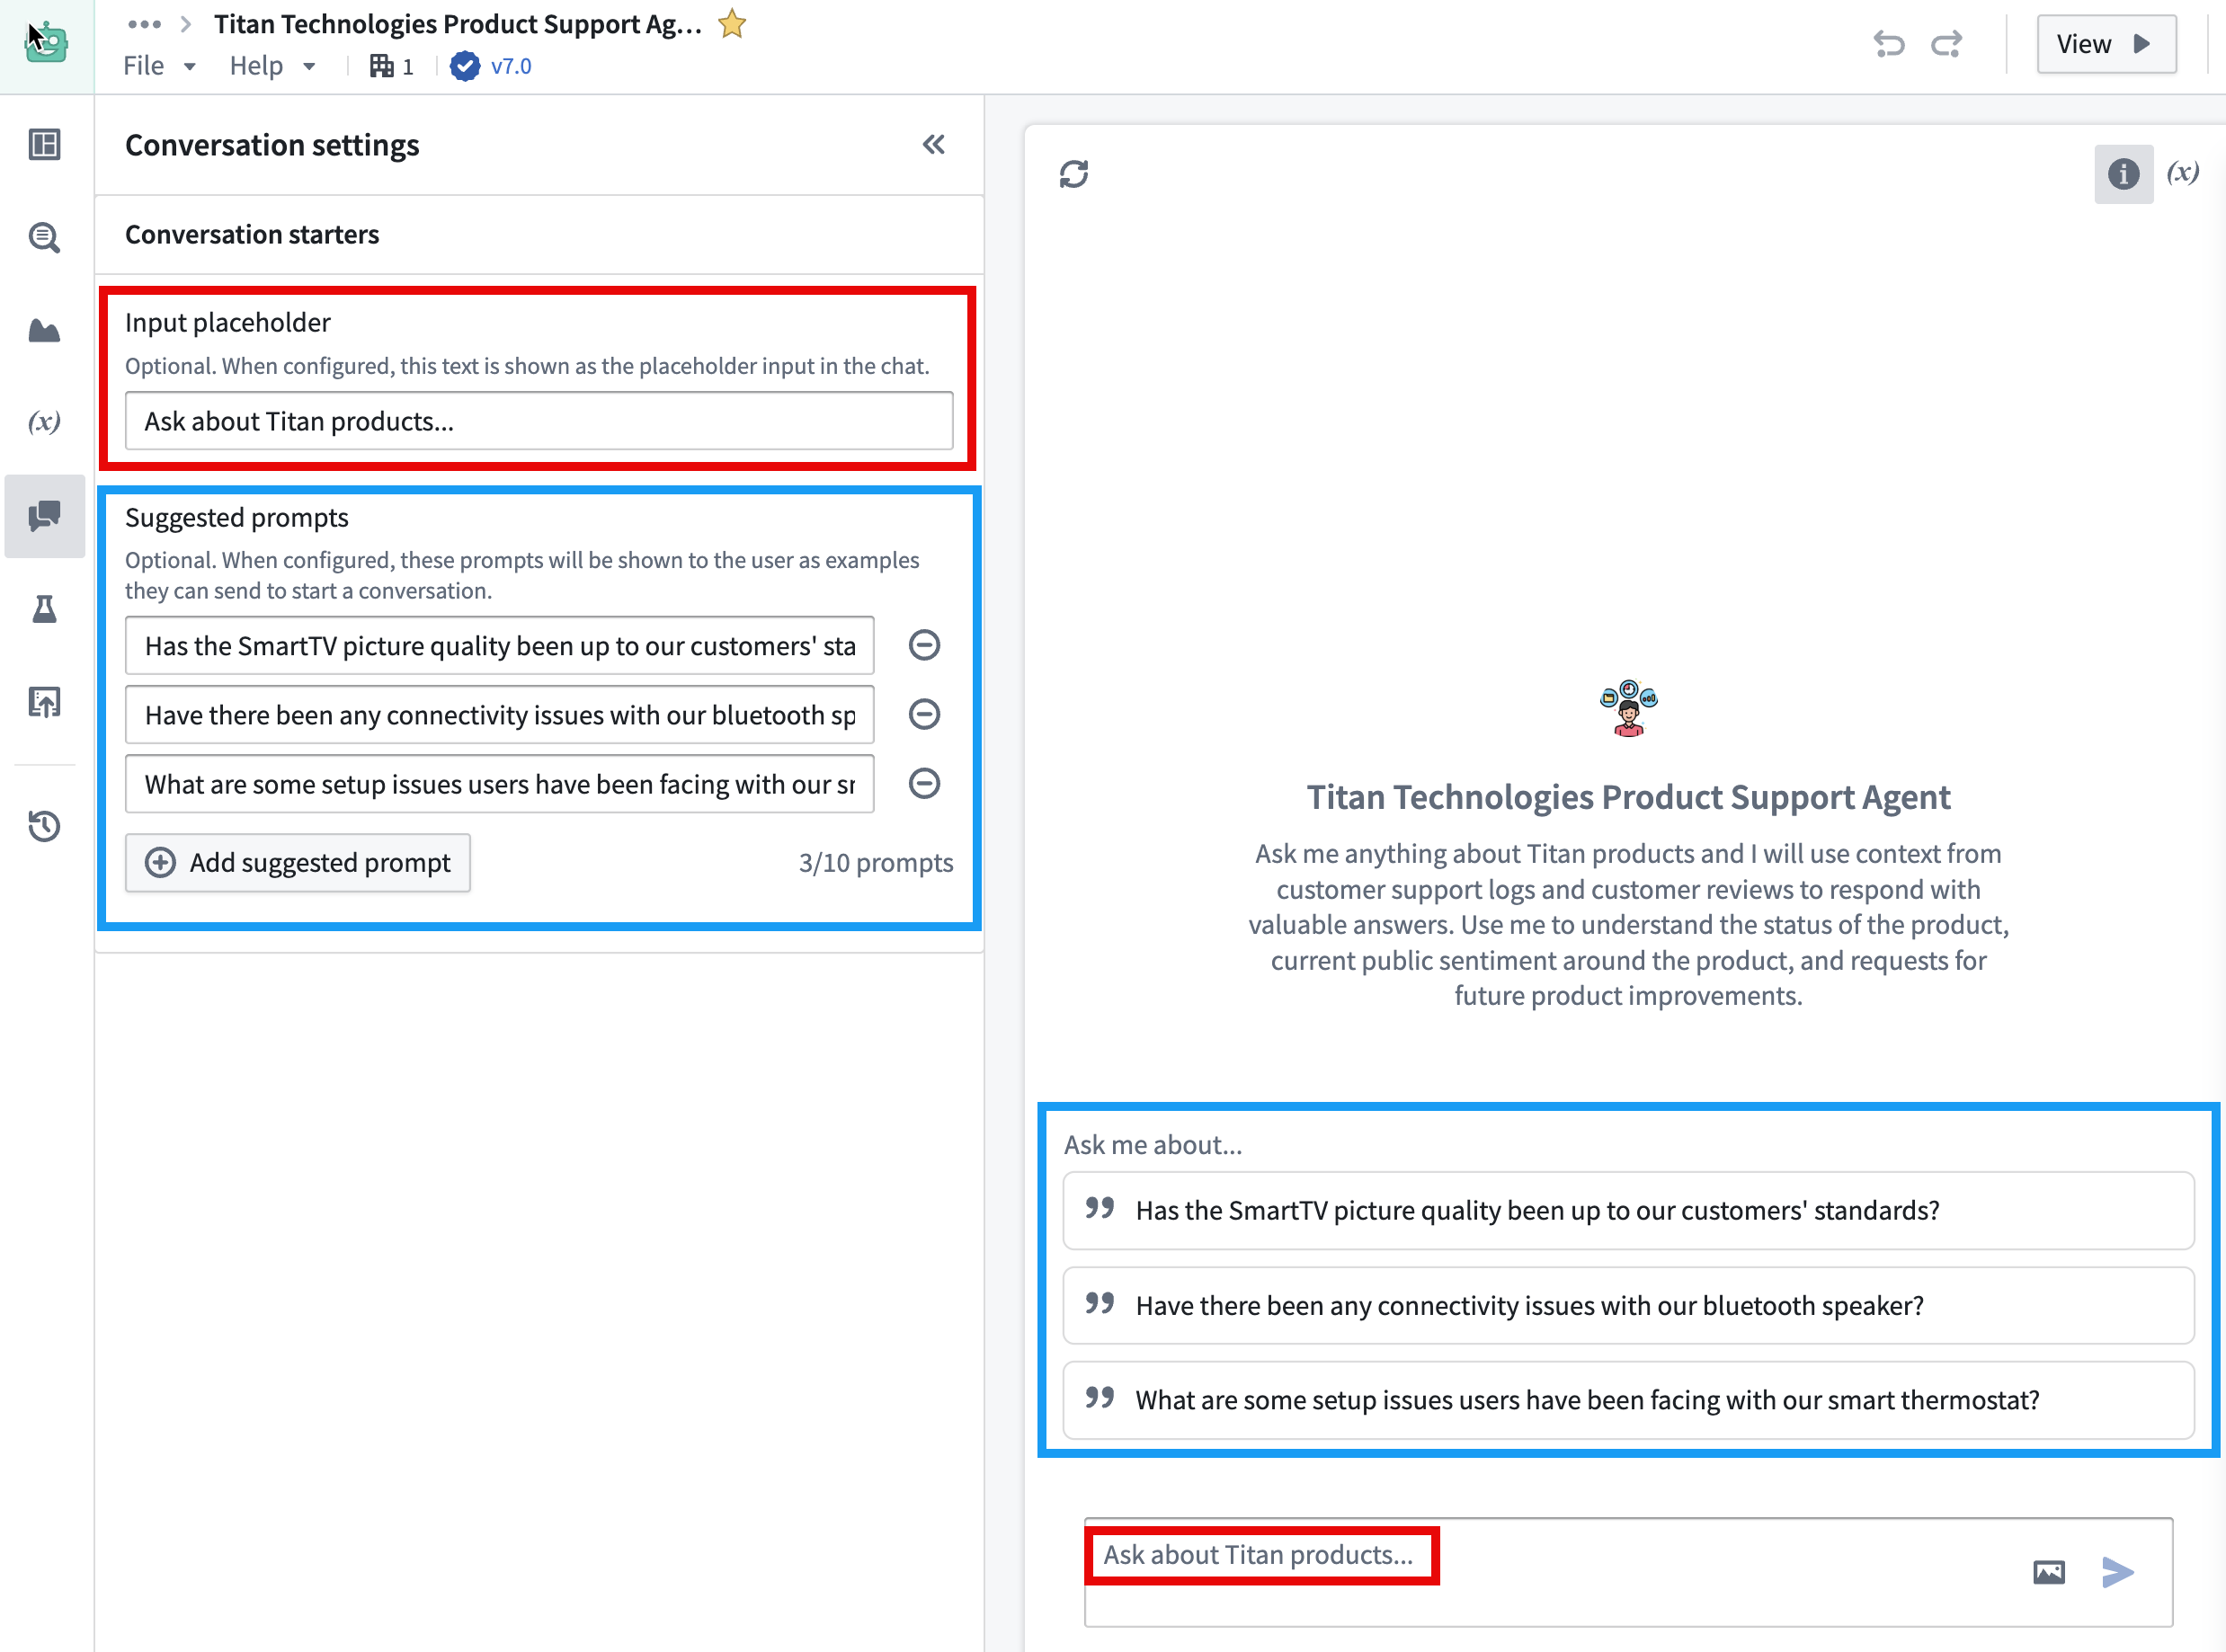
Add conversation starters
You can also set up an input placeholder and suggested prompts to customize the agent for your intended workflow.
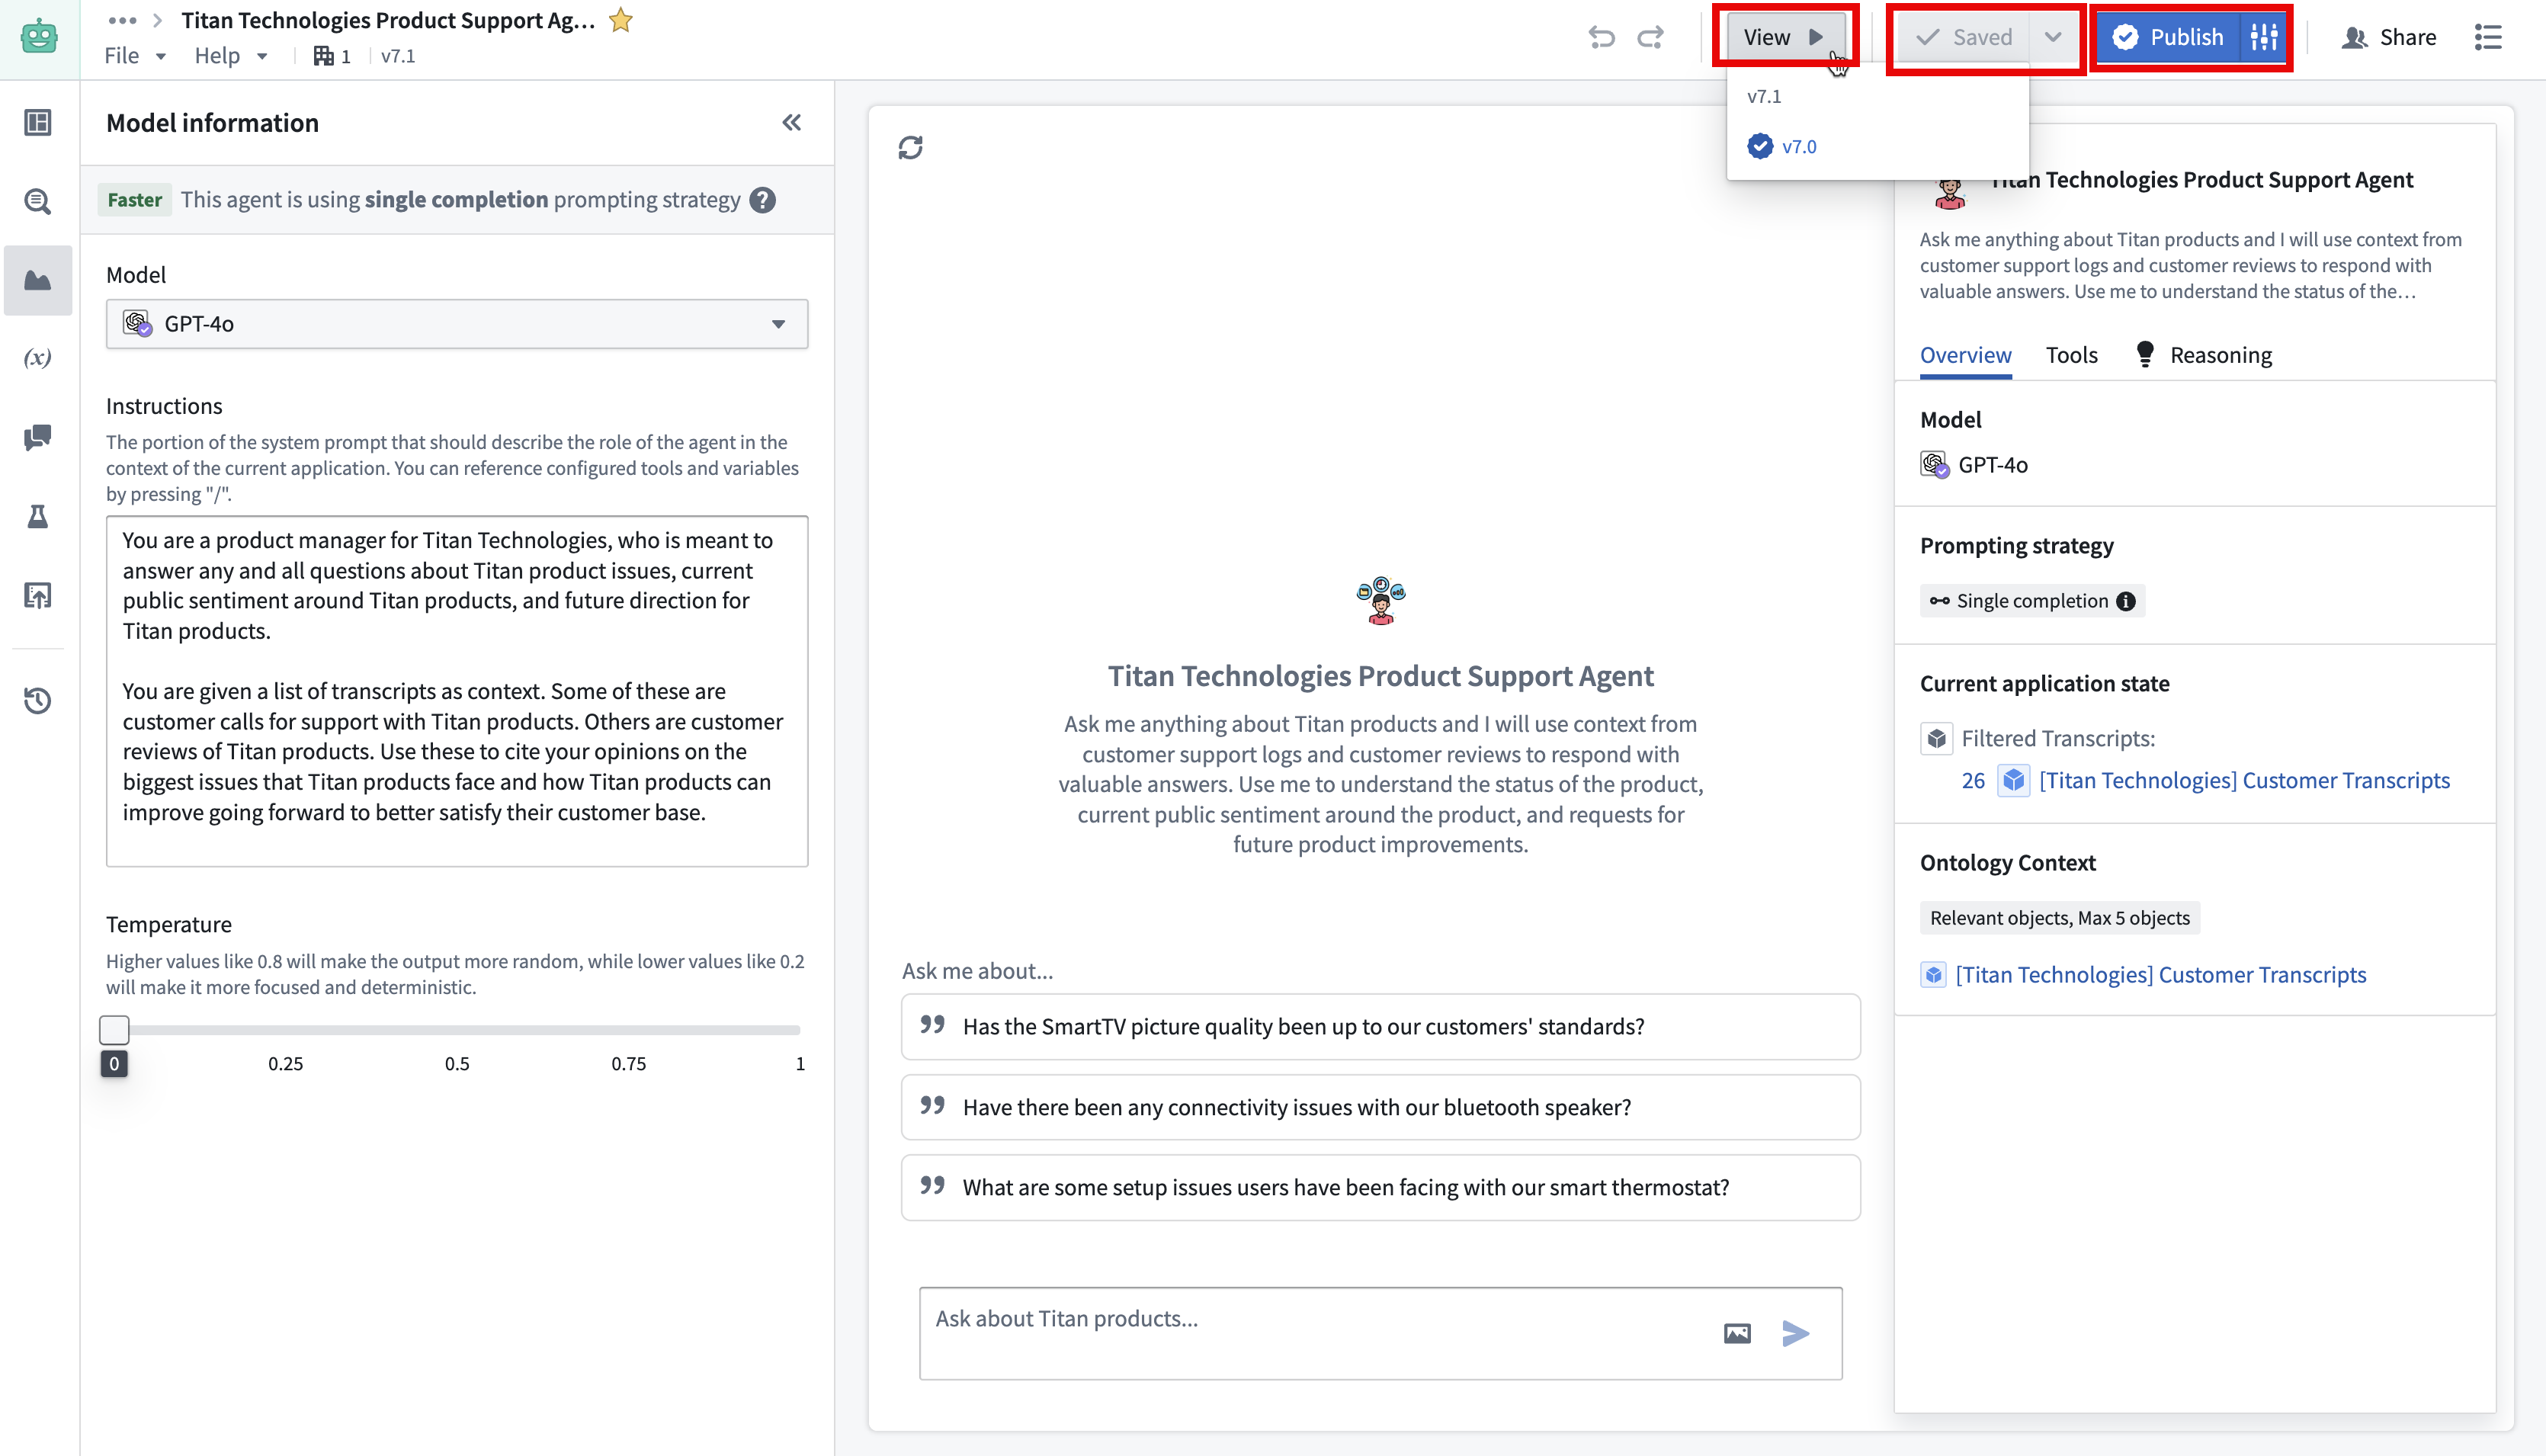
Save, view, and publish an AIP Agent
Once you have configured your AIP Agent, you can save your progress by using Save at the top right of the interface. You can add a description to your saved version by using the down arrow icon next to the Save option.
To view your AIP Agent in action in the perspective of an end-user interaction, use View and select the desired version.
When you are ready to deploy your AIP Agent, select Publish to make your agent available for use in production environments. You can also publish your agent as a function by selecting the configuration icon next to the Publish option. This allows you to run your agent via AIP Automate and AIP Evals.
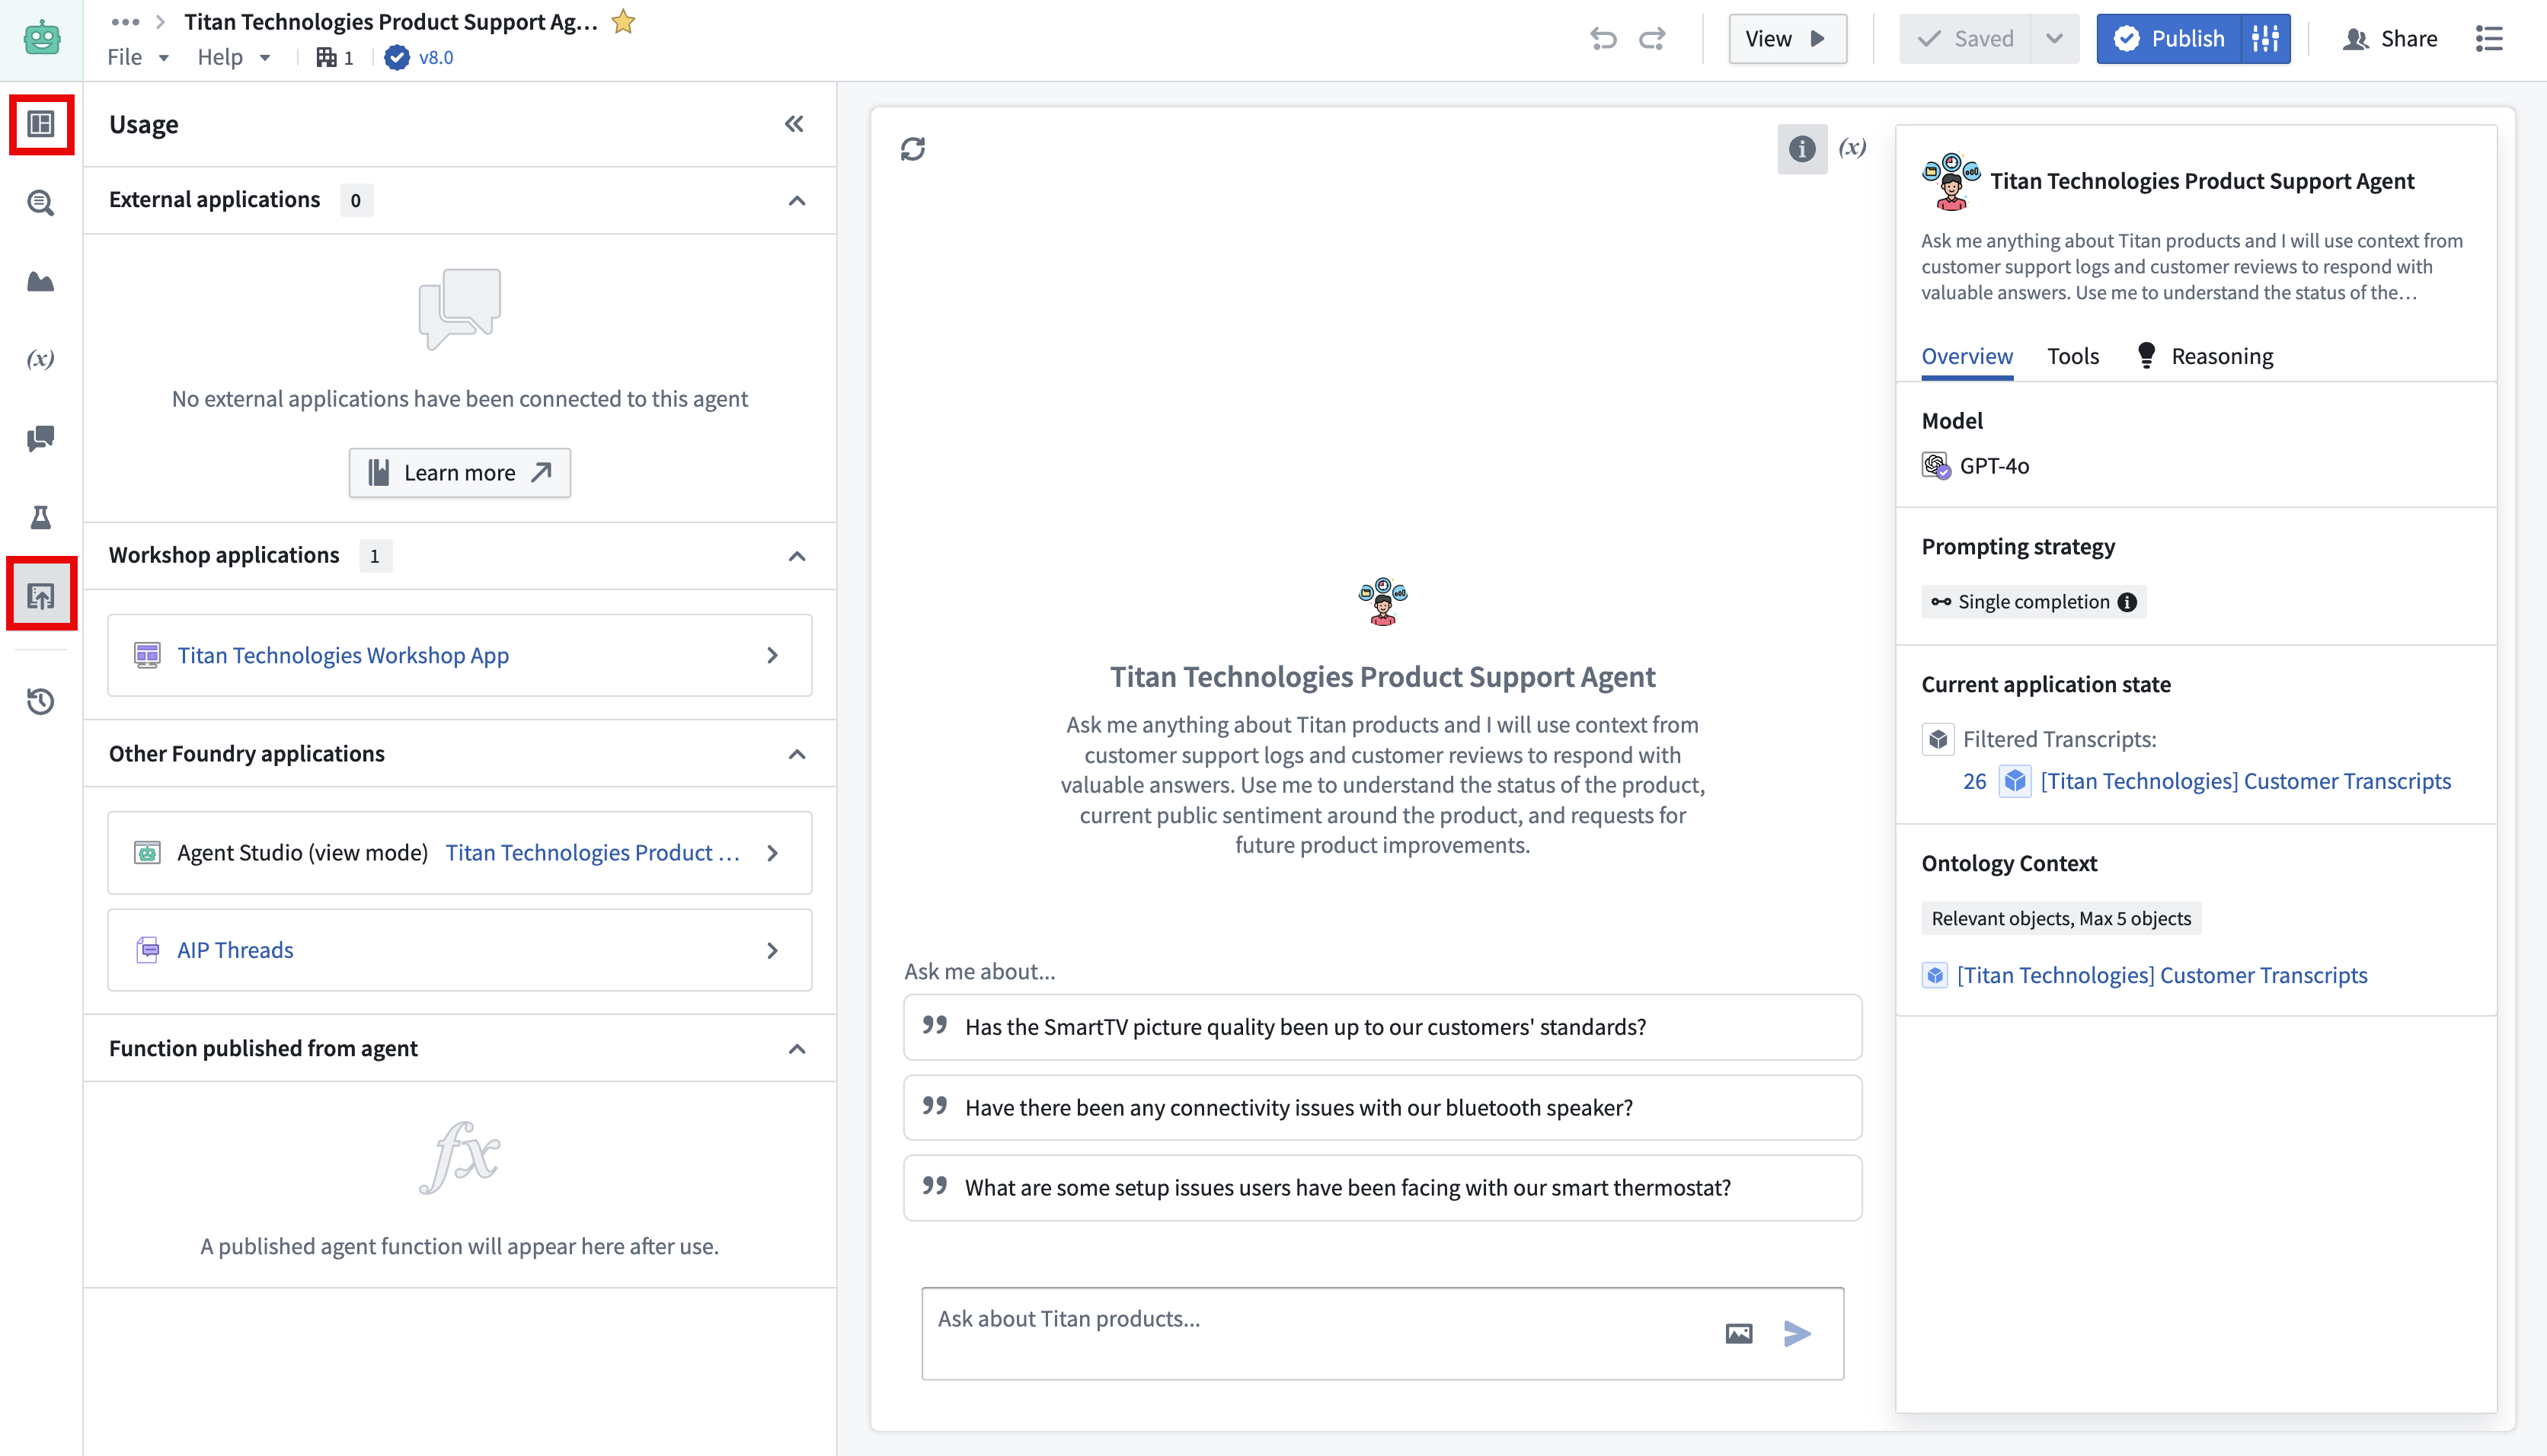
Track AIP Agent feedback and usage
You can monitor the performance and usage of your agent through the Monitoring and Usage tabs, where you can see metrics and feedback from users. Feedback data is received from users giving thumbs-up or thumbs-down signs to the agent from a conversation.
Use in AIP Threads, Workshop, view mode, or OSDK with Developer Console and platform APIs.