- Capabilities
- Getting started
- Architecture center
- Platform updates
Set up a projection
The following information will guide you through the process of enabling, configuring, and building a dataset projection.
Noho is a service that manages dataset projections.
Enable projections for your dataset
Projections are enabled in a dataset's schema by configuring noho: true.
You can configure a dataset's schema when writing the dataset from a transform or by manually modifying the schema in the Details tab.
Copied!1 2 3 4 5 6 7 8 9 10from transforms.api import transform, Input, Output @transform( output_dataset=Output('/examples/example_output') input_dataset=Input('/examples/example_input'), ) def compute(output_dataset, input_dataset): input_dataset = input_dataset.dataframe() output_dataset.write_dataframe(input_dataset, options={"noho": "true"})

Navigate to the Projections tab
You will see a Projections tab when viewing a dataset if it has noho: true configured in the schema and you have permission to edit the dataset.
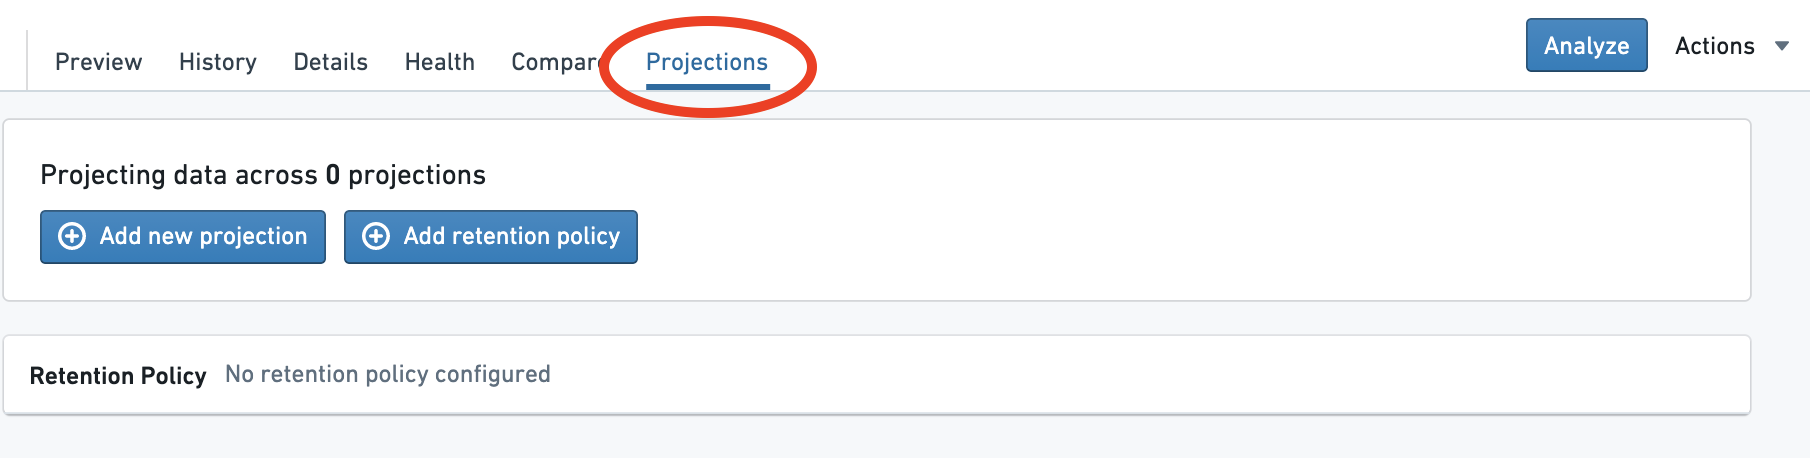
Open the creation dialog
Select Add new projection.

Choose the projection columns
Choose the columns to include in the projection.

In most cases, All columns is appropriate. However, you can adjust this if you know that a query will only select a subset of the columns.
Choose the projection type
Chose the type of the projection.

- For filter-optimized projections, select the columns to filter on.
- The order matters, as the projection will only speed up queries on a prefix of this list.
- For join-optimized projections, select the join columns and bucket count.
- Joins will be sped up only on this exact set of columns.
- When joining to an explicitly bucketed dataset or another join-optimized dataset, the bucket counts must be equal.
Create the projection
Select the Create projection button.

The projection now exists but contains no data. This is denoted by the red warning icon next to the projection. To use the projection in a query, it must first be built by following the next steps.
Set up a build
To give you more control over resource usage, the internal builds that maintain projections are not scheduled automatically; you will need to set one up explicitly.
First, toggle the switch Enable projection builds on the current branch. This allows builds to run on the current branch.
Then, configure a schedule for the build. If you want to schedule a build on a different branch, you will need to navigate to that branch and repeat the process.


(Optional) Build the projection
If you do not want to wait for the build, explicitly build the projection by selecting the Build button.

Now, wait for the build to complete. Multiple builds may run before the projection is up to date. A green check next to the Projection Build Status line indicates that the projection is now fully up-to-date.

The projection is now up-to-date and will be used for reads on the dataset.