- Capabilities
- Getting started
- Architecture center
- Platform updates
Temporary scenarios
Temporary scenarios are created and used only within the current session. Their metadata is not persisted in the platform and will be deleted if the user ends the current session (on Workshop, for example). These scenarios are useful for quick, ad-hoc "what-if" analyses where you do not need to collaborate or share the results. They allow you to experiment with different actions without affecting the state of your Ontology or cluttering your workspace with unnecessary saved scenarios.
Workshop tutorial
In this tutorial, you will walk through building a basic Workshop application supporting temporary scenarios.
Part I: Add the Scenario Manager widget
- From a new, empty Workshop module, navigate to the Settings panel on the left side navigation and ensure the Scenarios setting is enabled in the Advanced Functionalities section.
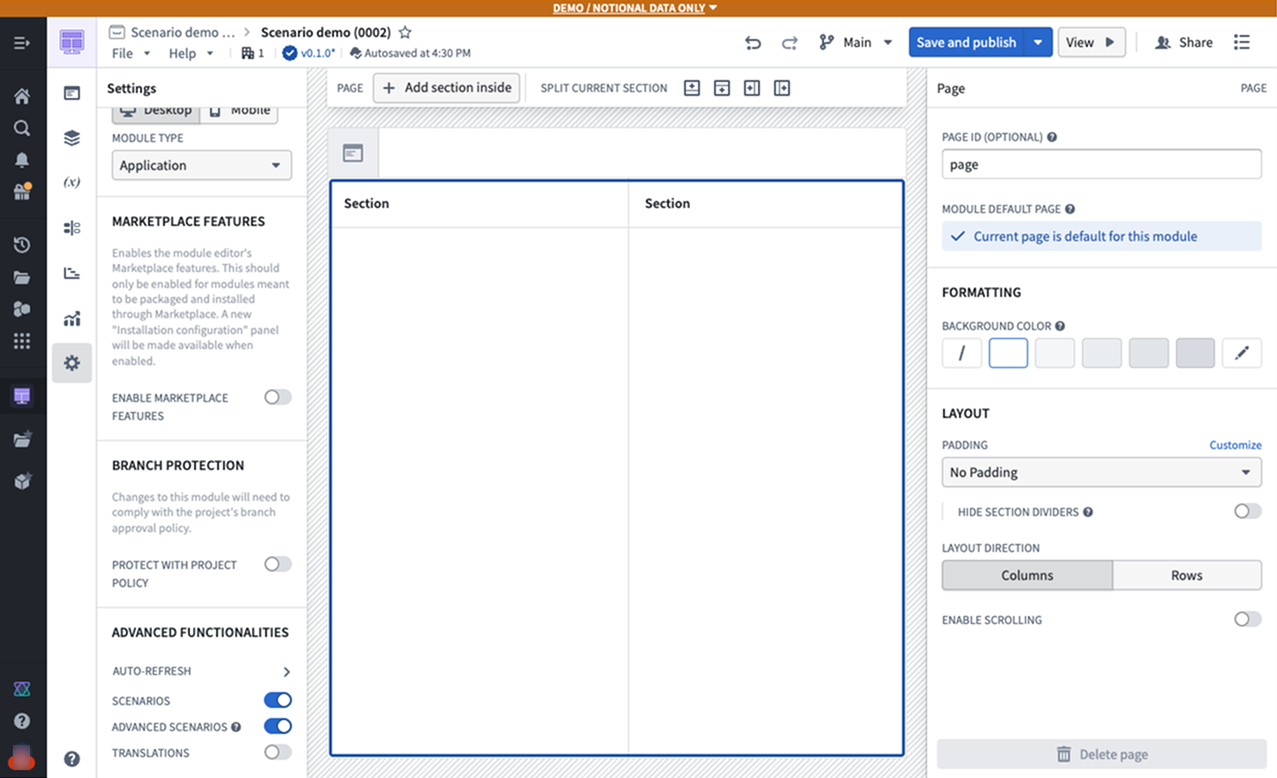
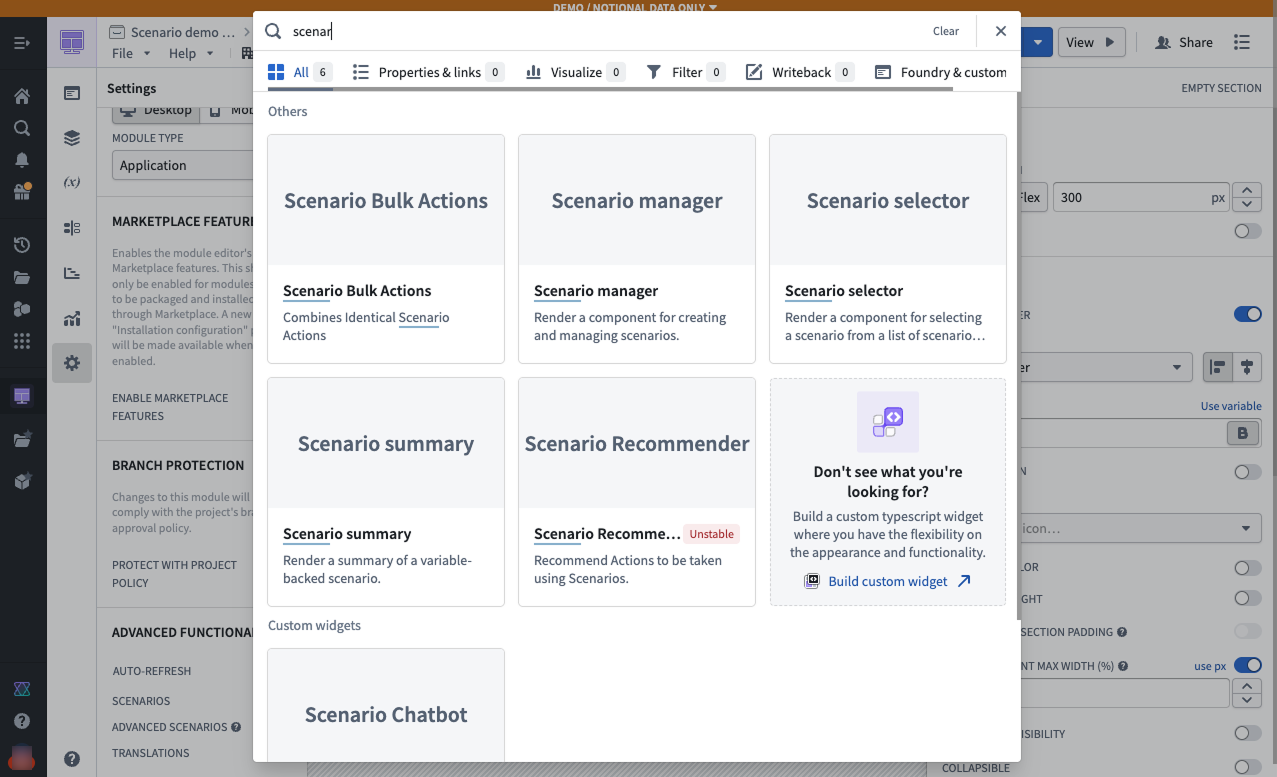
- In the sidebar section, add a Scenario Manager widget. This is one of the scenario-specific widgets in Workshop and is used to create and manage temporary scenarios that will be used throughout the module.
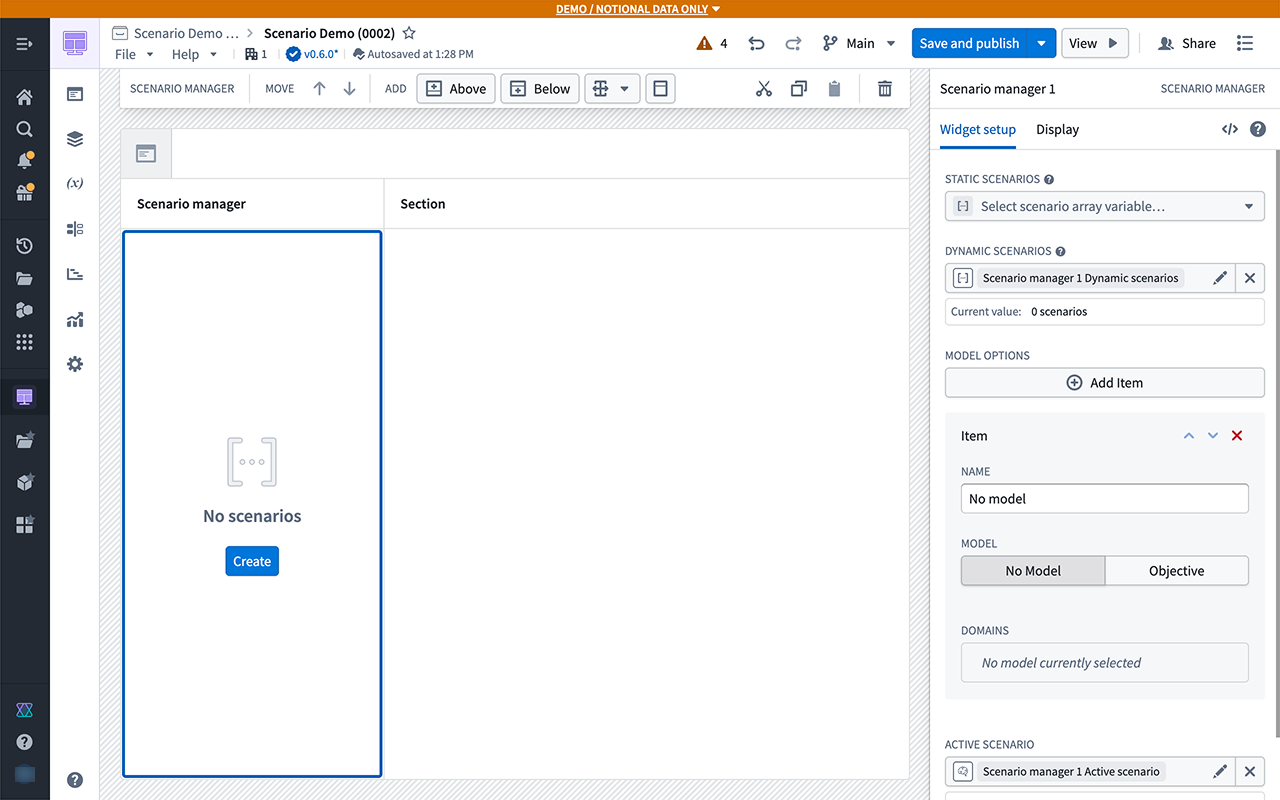
- From the widget setup panel on the right, configure the Dynamic scenarios field to use a new dynamic scenario. The Create button will appear in the center of the widget.
Part II: Add an Object Table widget
-
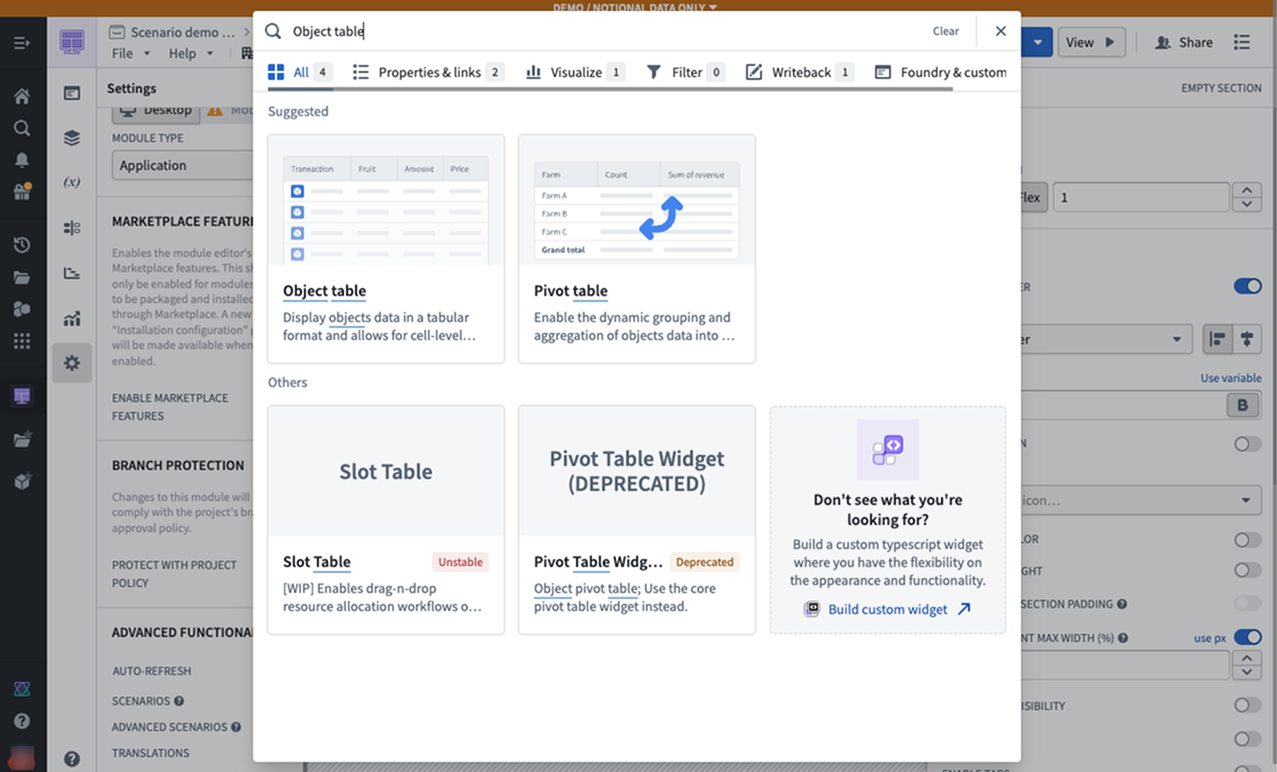
From the body of the module, add an Object Table widget.
-
You can use any object set to populate the table, but we recommend starting with an object type that already has at least one associated action configured.
-
Now, add some properties to display in the table.
-
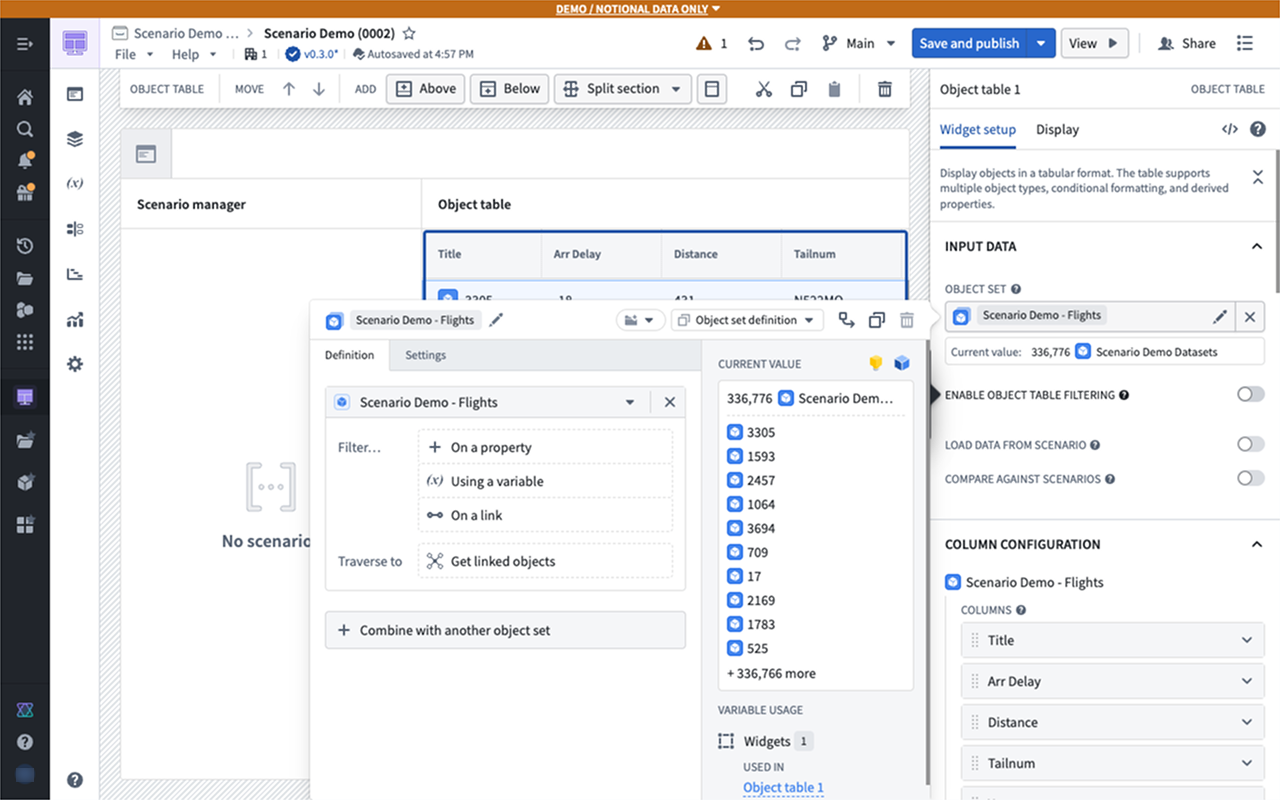
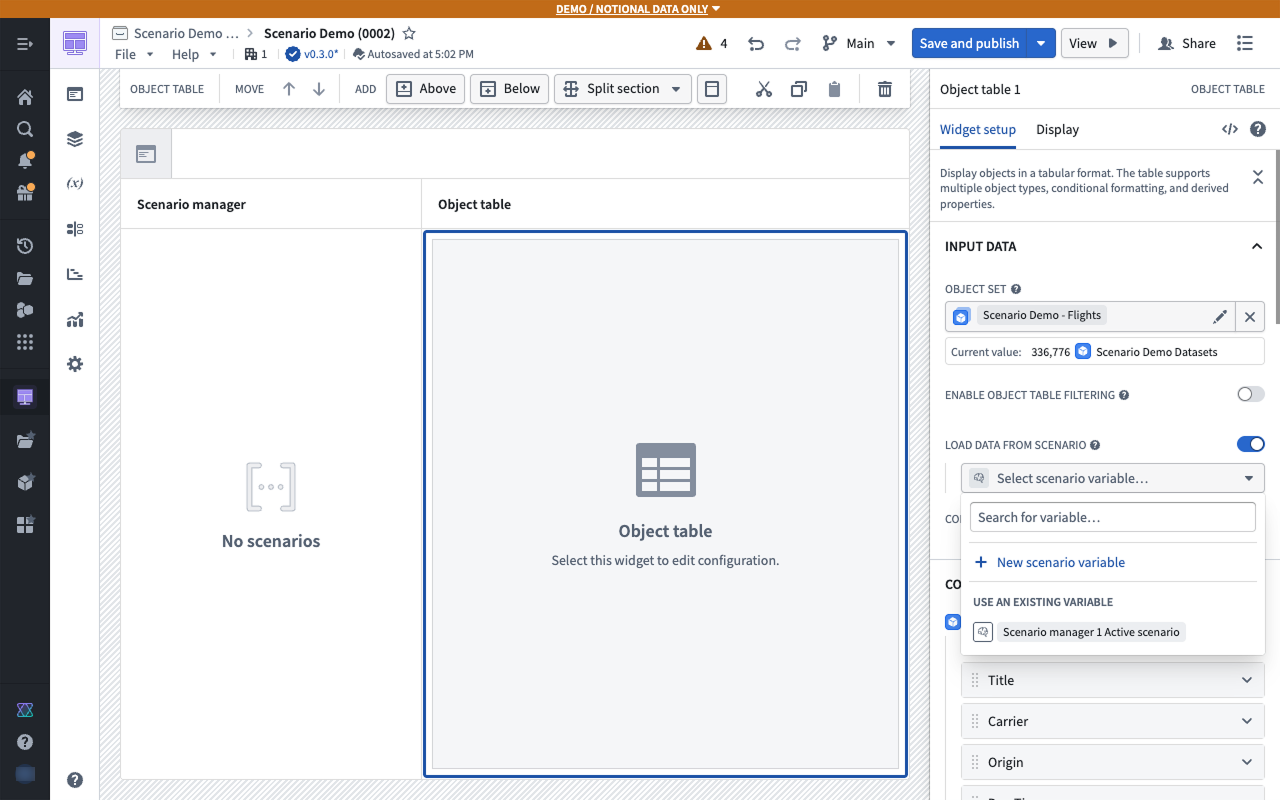
Below the properties, enable the option to Load Data from Scenario into this widget. This option effectively makes the Object Table widget scenario-aware.
-
Select the scenario array variable produced by the Scenario Manager widget. This will cause the data in the Object Table widget to reflect any modifications to scenarios in the Scenario Manager widget rather than the raw Ontology.
Part III: Add the Scenario Summary widget
-
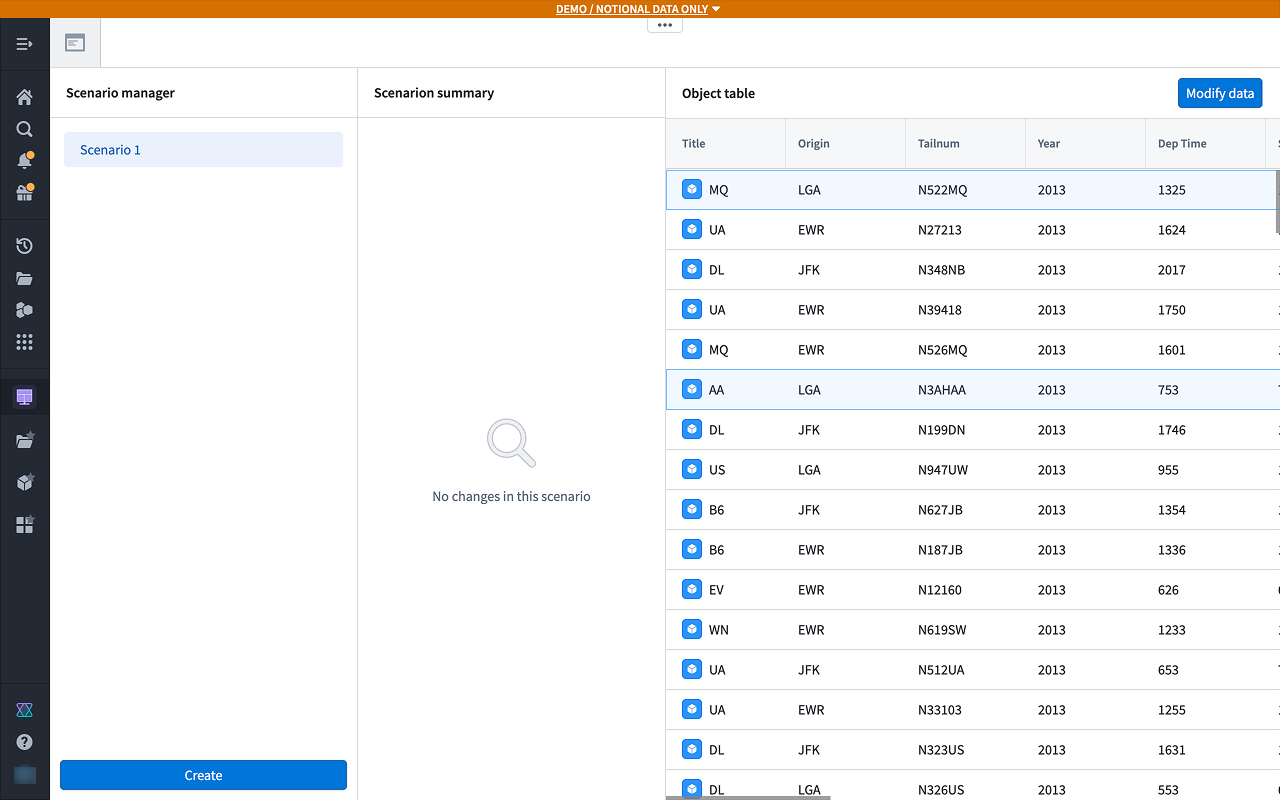
To preview the changes you will be making on the scenario, add the Scenario Summary widget to your module.
-
In the widget configuration, connect to the active scenario variable generated by the Scenario Manager widget.
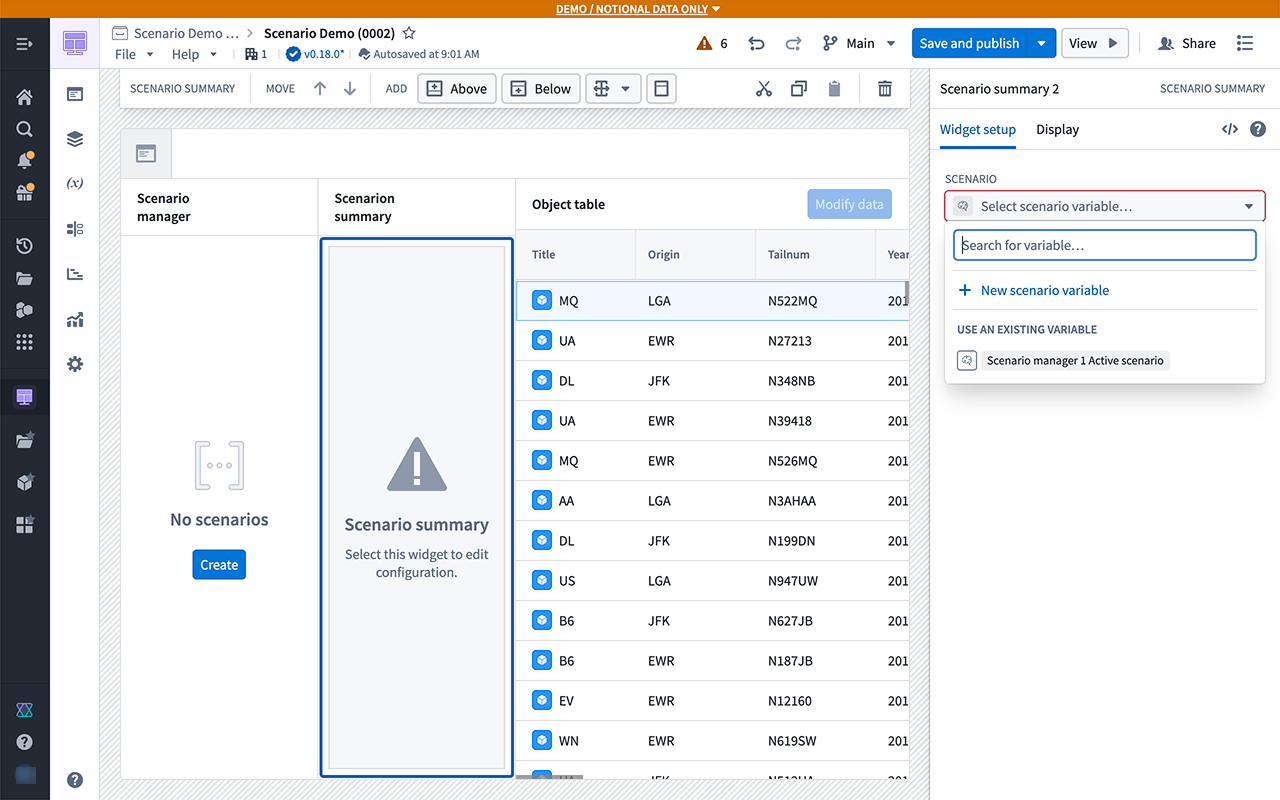
At this point, no modifications have been applied to the scenario; the data should be the same.
Part IV: Configure an action
-
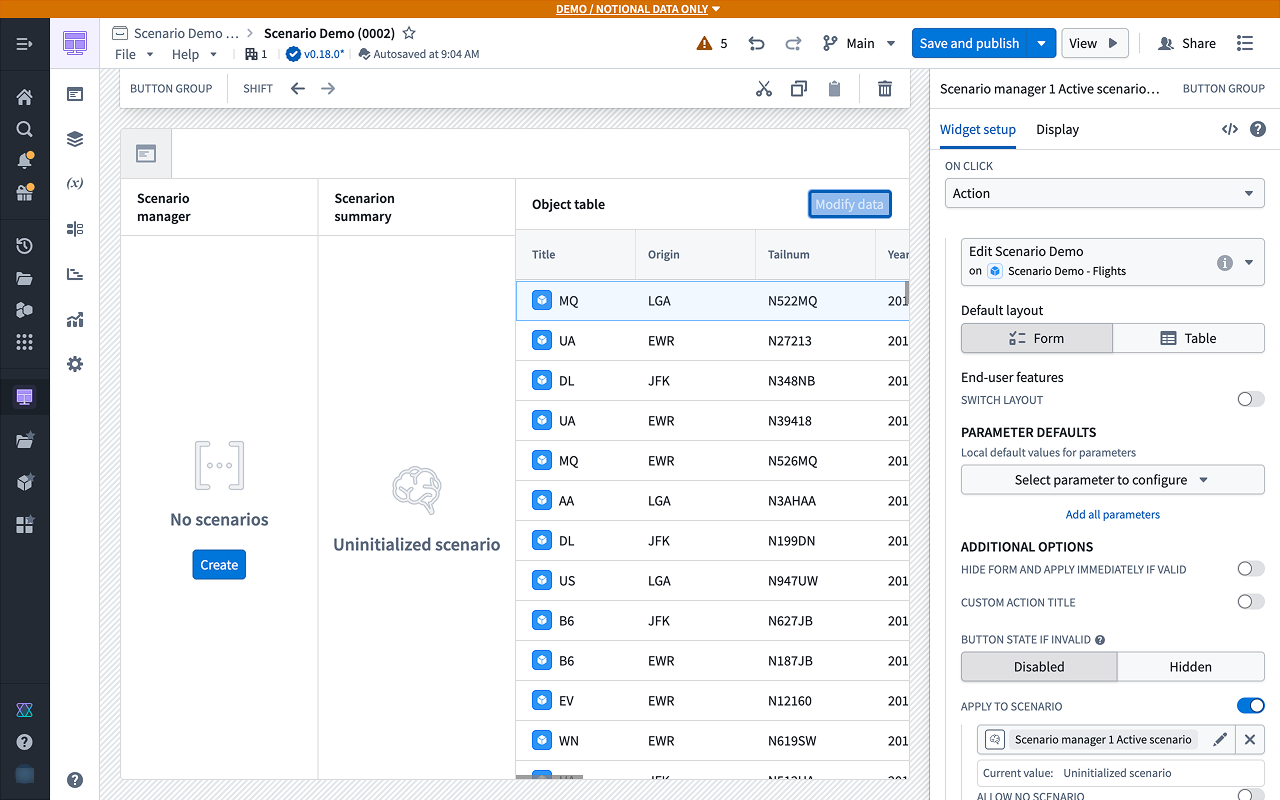
Add a Button Group widget to configure an action to apply to your scenarios.
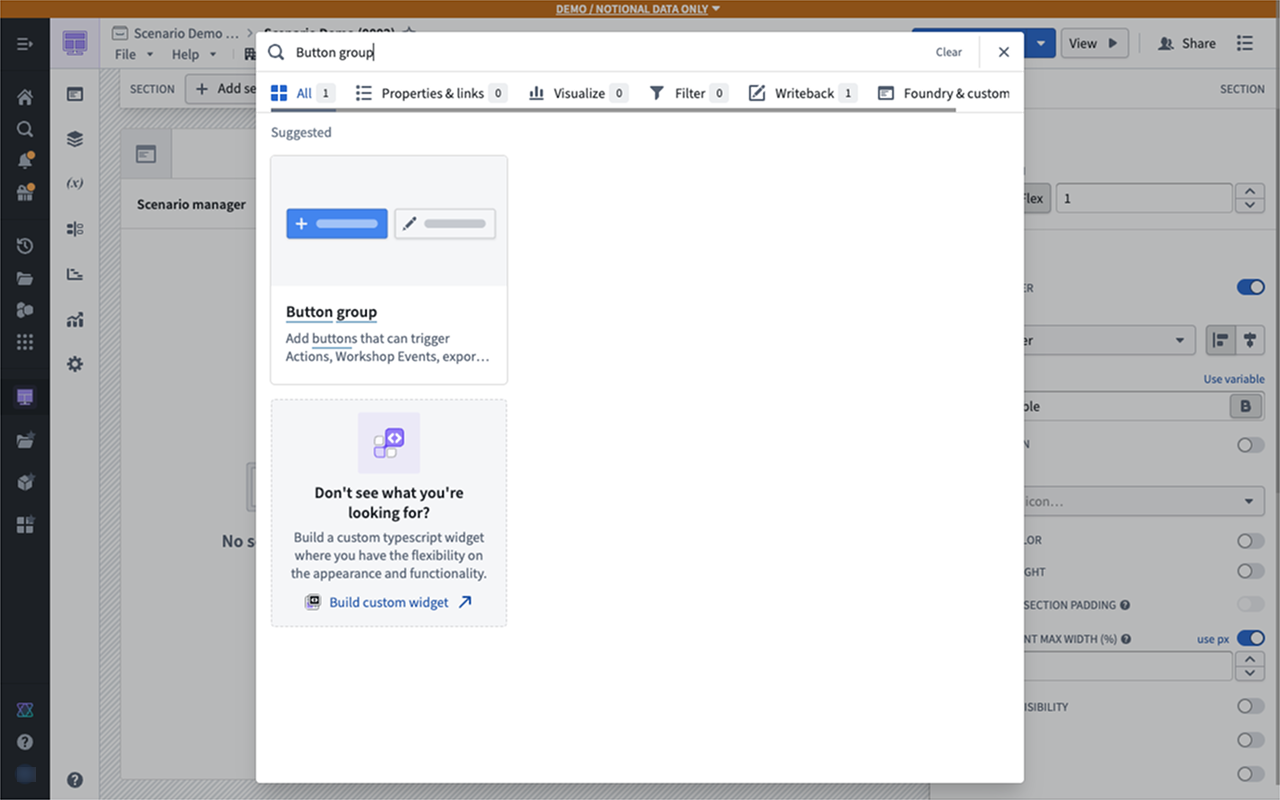
-
Select an action that modifies the object types in your table.
-
To apply this action to a scenario instead of the Ontology, enable the Apply to Scenario option and select the active scenario variable from the menu.
-
Using the newly configured action, try changing the property of any object in the table to a new value.
-
Before applying the action, create a new scenario in the Scenario Manager widget by selecting Create.
In the example below, the Year for a flight in the table is being updated. You should see the Object Table widget refresh with the new data.
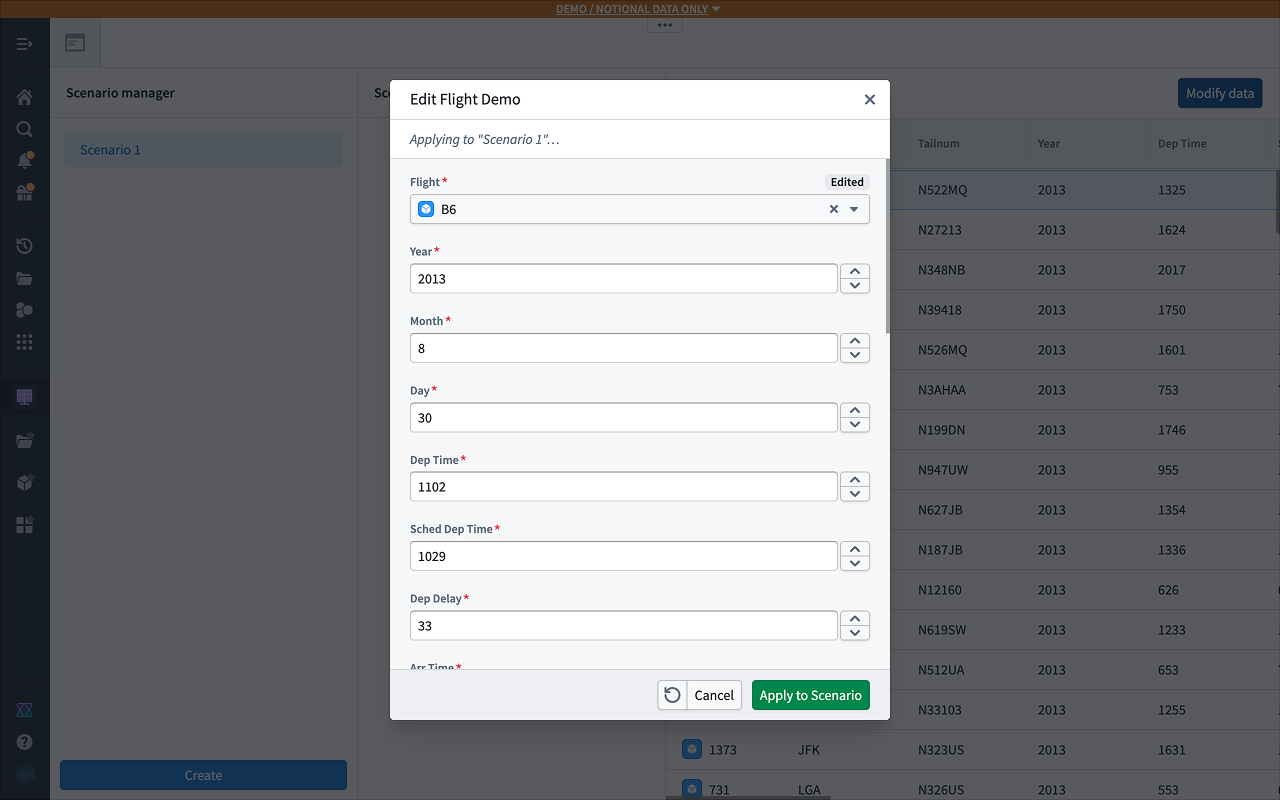
A record will appear in the Scenario Summary widget indicating the change in data. This action has not been applied to the Ontology and exists only within the scenario.
Part V: Add a chart widget
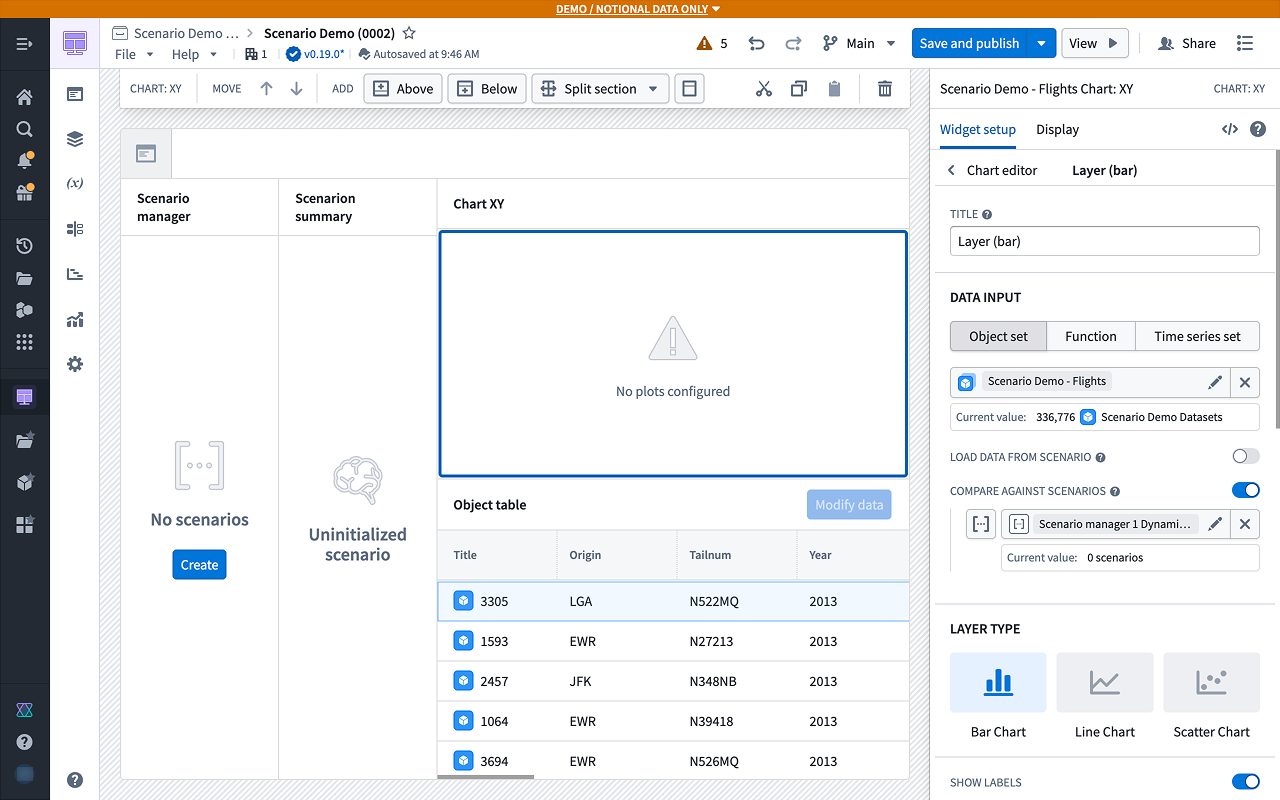
- To better visualize the results, add a section above the table with a Chart: XY widget.
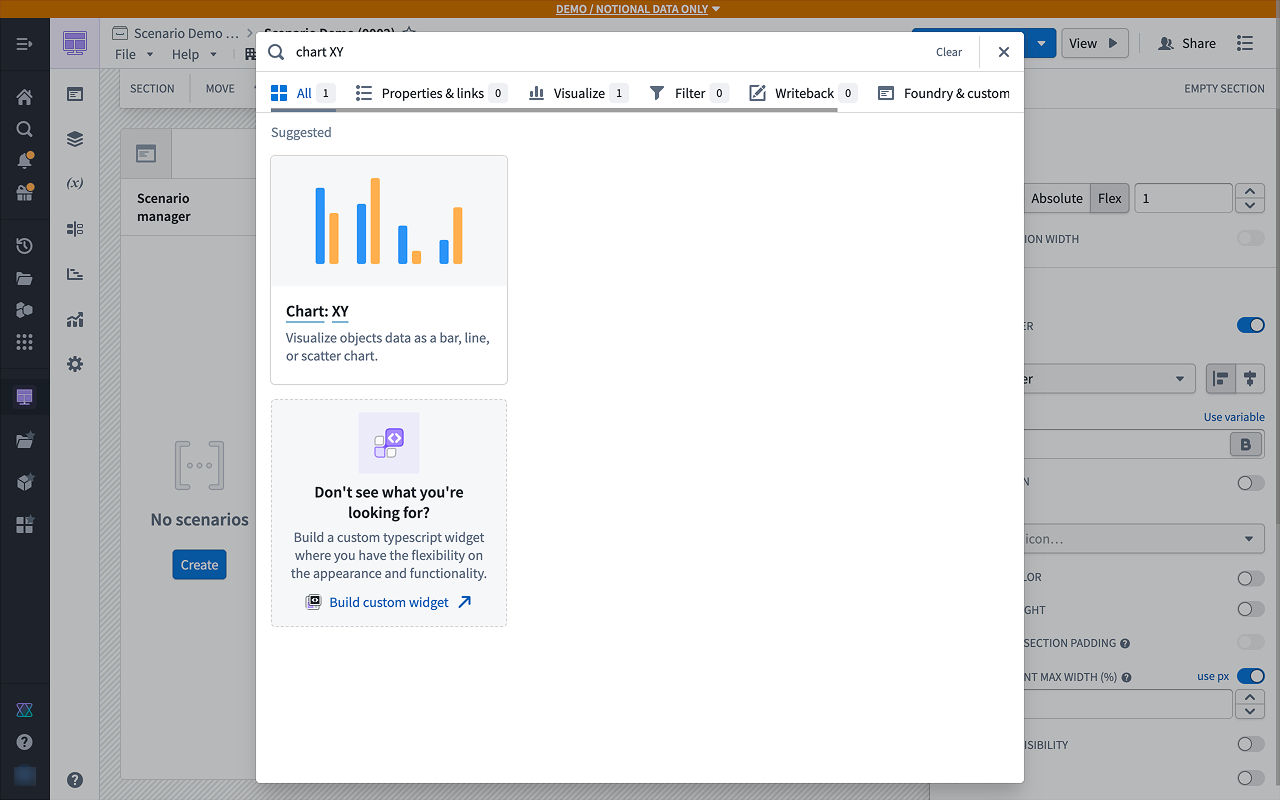
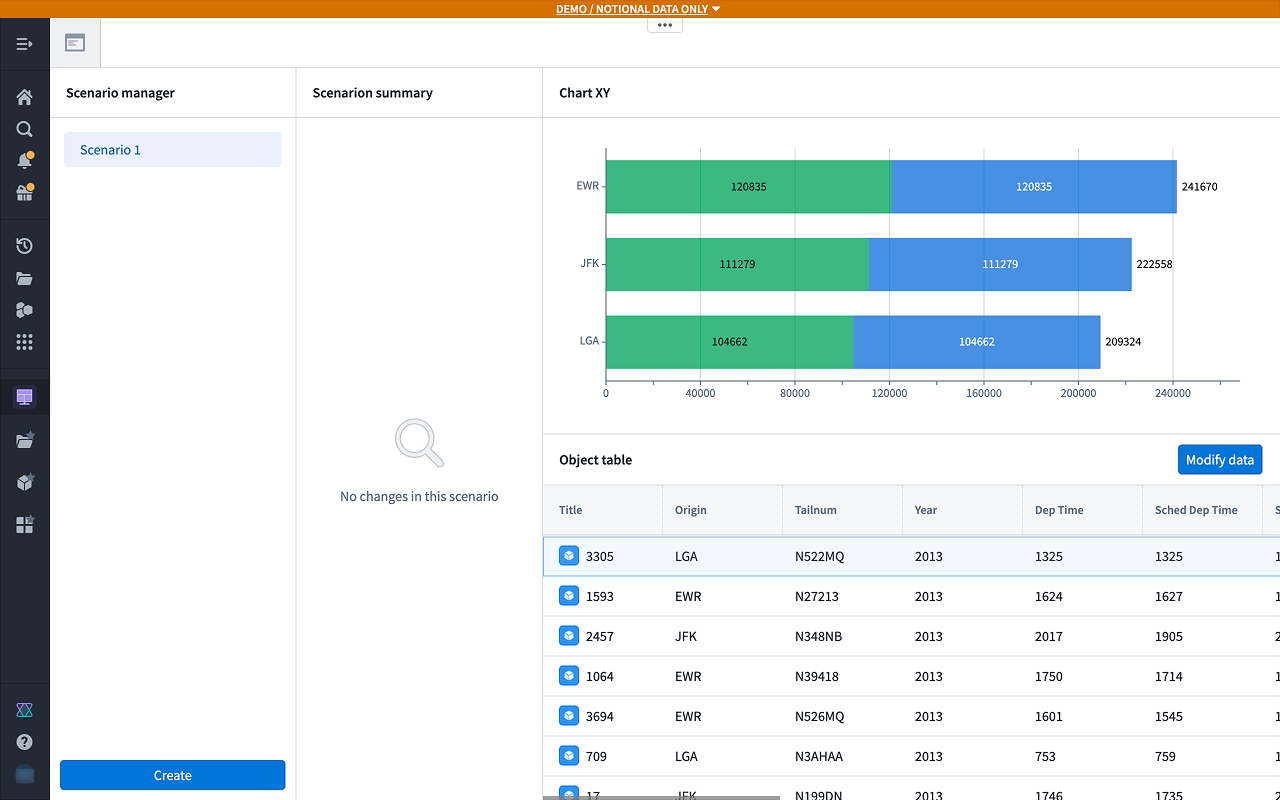
The Chart: XY widget supports an arbitrary number of scenarios, and different scenarios can be configured in different layers.
2. Try exploring the various layer types to see how multiple scenarios are visualized in them.
- You can also configure Group By and other aggregates, which will properly respect scenario values.
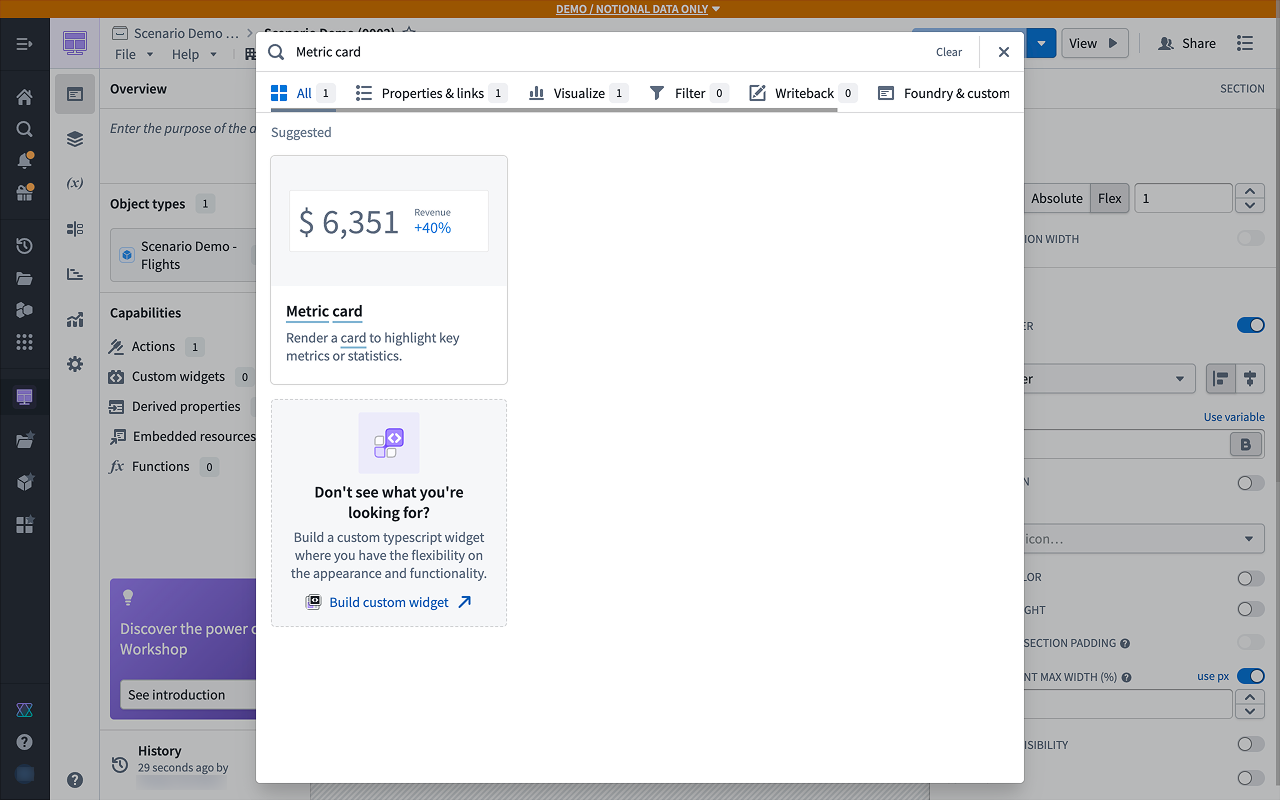
Part VI: Add a Metric Card widget
- You can also populate values in metric cards from scenarios. Add a new Metric Card widget.
- You can configure variable values from scenarios to use in widgets that are not inherently scenario-aware. The Metric Card widget, for example, does not have an explicit scenario configuration section. Instead, in the Metric Card configuration, create a new numeric metric with a value defined by a new object set aggregation variable.
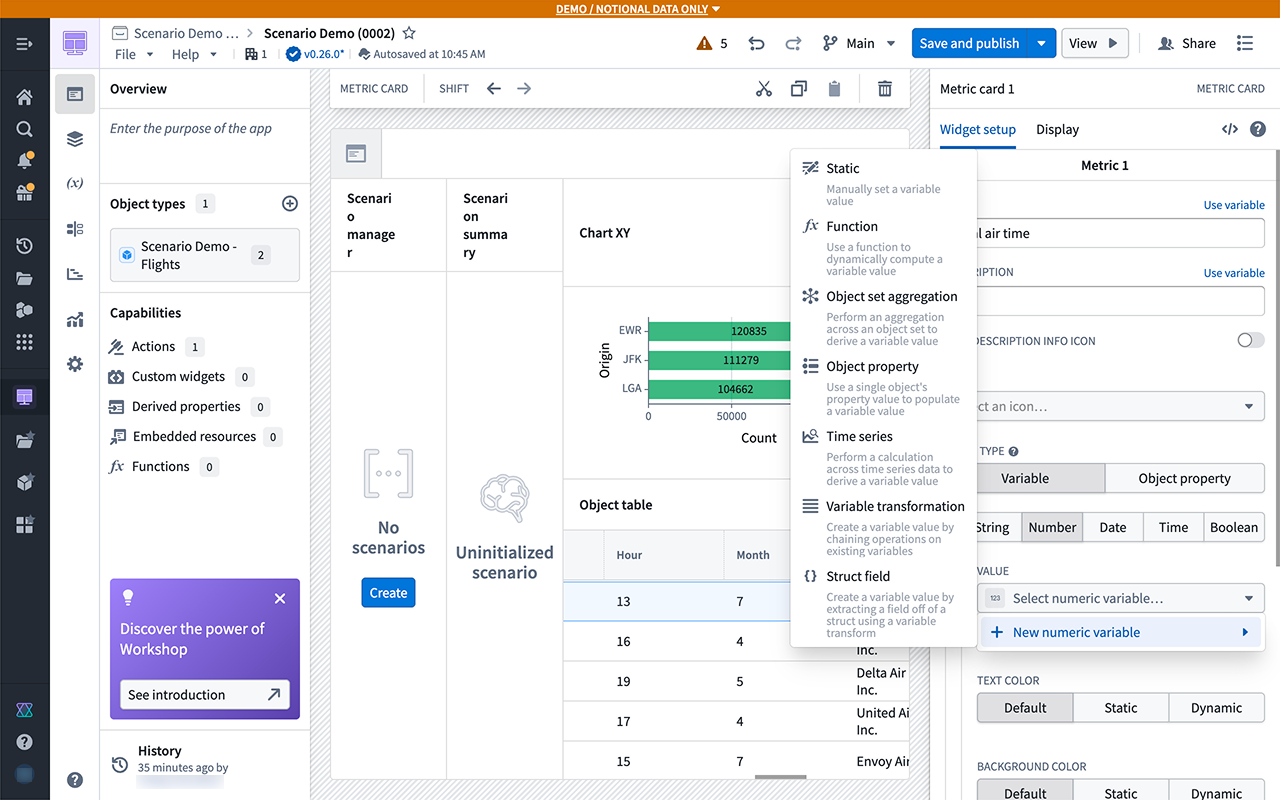
In the variable configuration pane, a Scenario section lets you add a scenario variable. If selected, the aggregation runs with the scenario's modifications applied. Similarly, object property variable configurations also support scenarios.

Next steps
Now that you have created your first scenario, we recommend experimenting with various configurations and layouts of the scenario-specific Workshop widgets used in our tutorial.
Persist temporary scenario metadata
If you determine that you do want to persist this scenario's metadata, follow the guidance in our persisted scenarios documentation.